|
If you haven't noticed yet, puns are the theme. I made this super easy French Onion soup, and the broth did actually steal the show. What you'll need (based on 4 servings, double or half this to your liking):
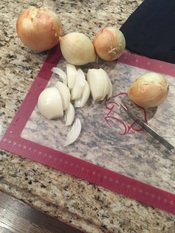
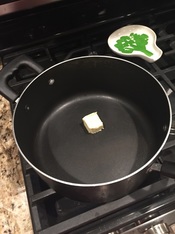
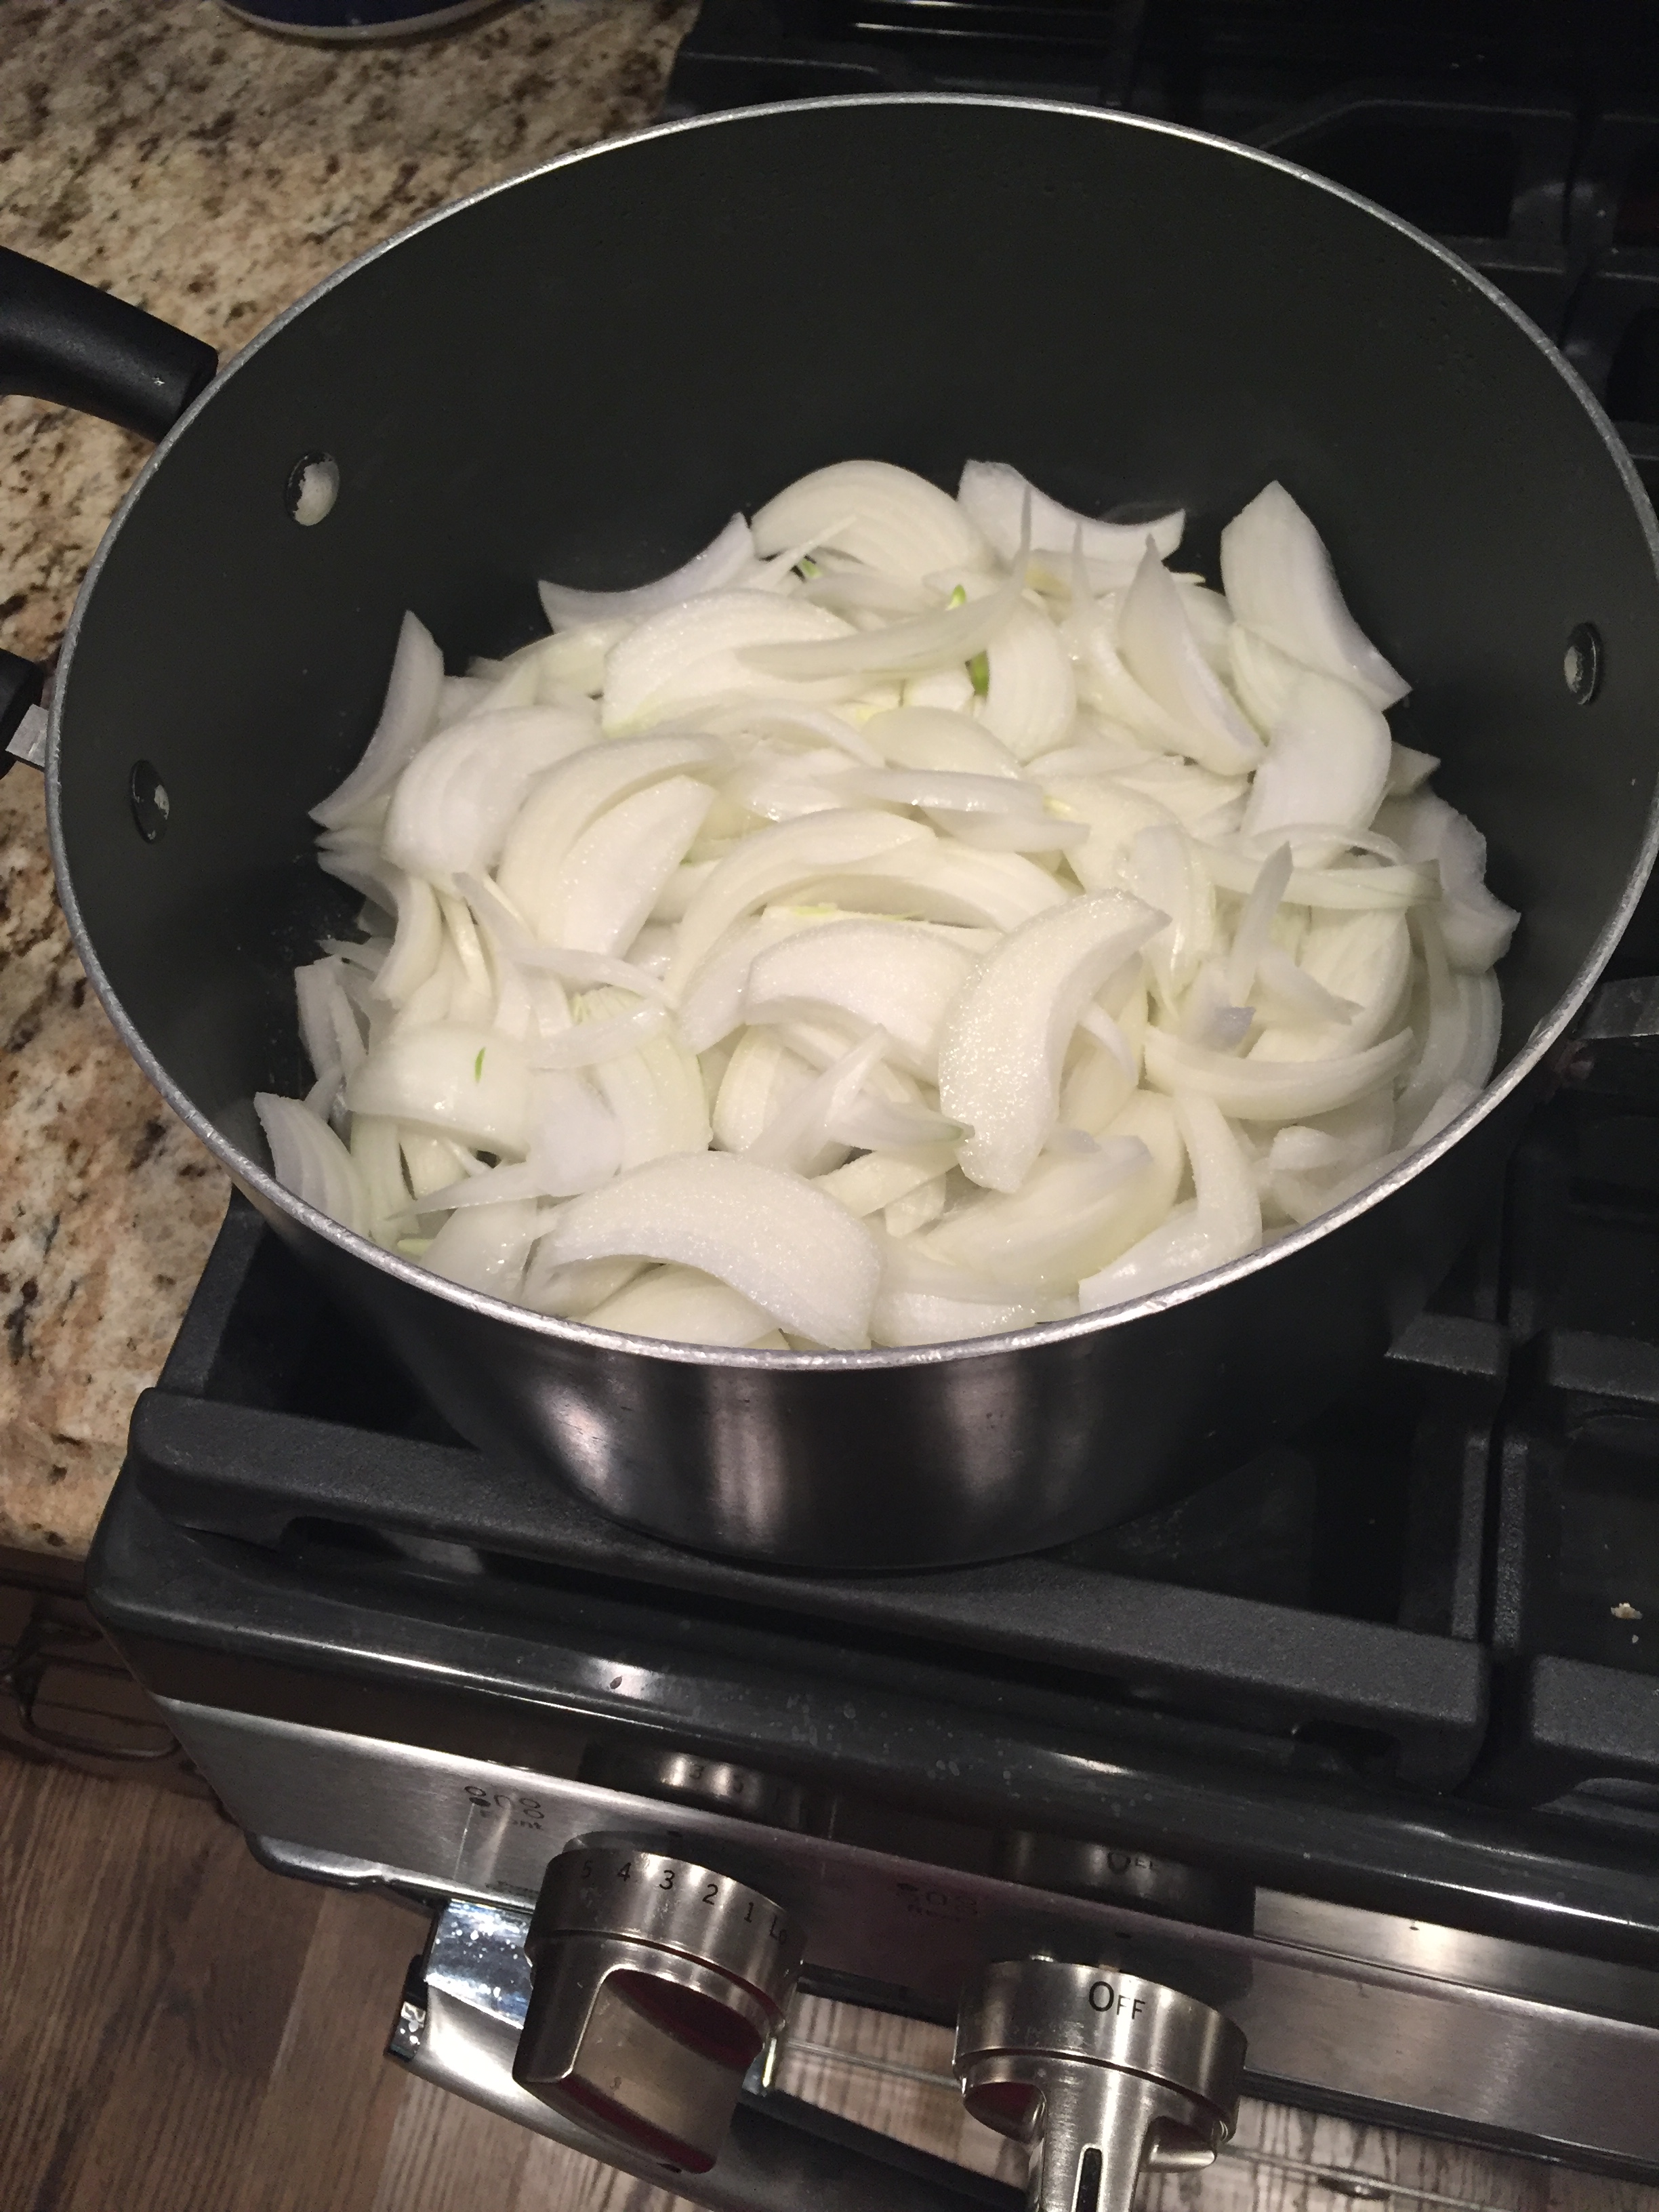
 The first thing to do is slice all of the onions into decently thin slices. Then heat up your butter on the pot.
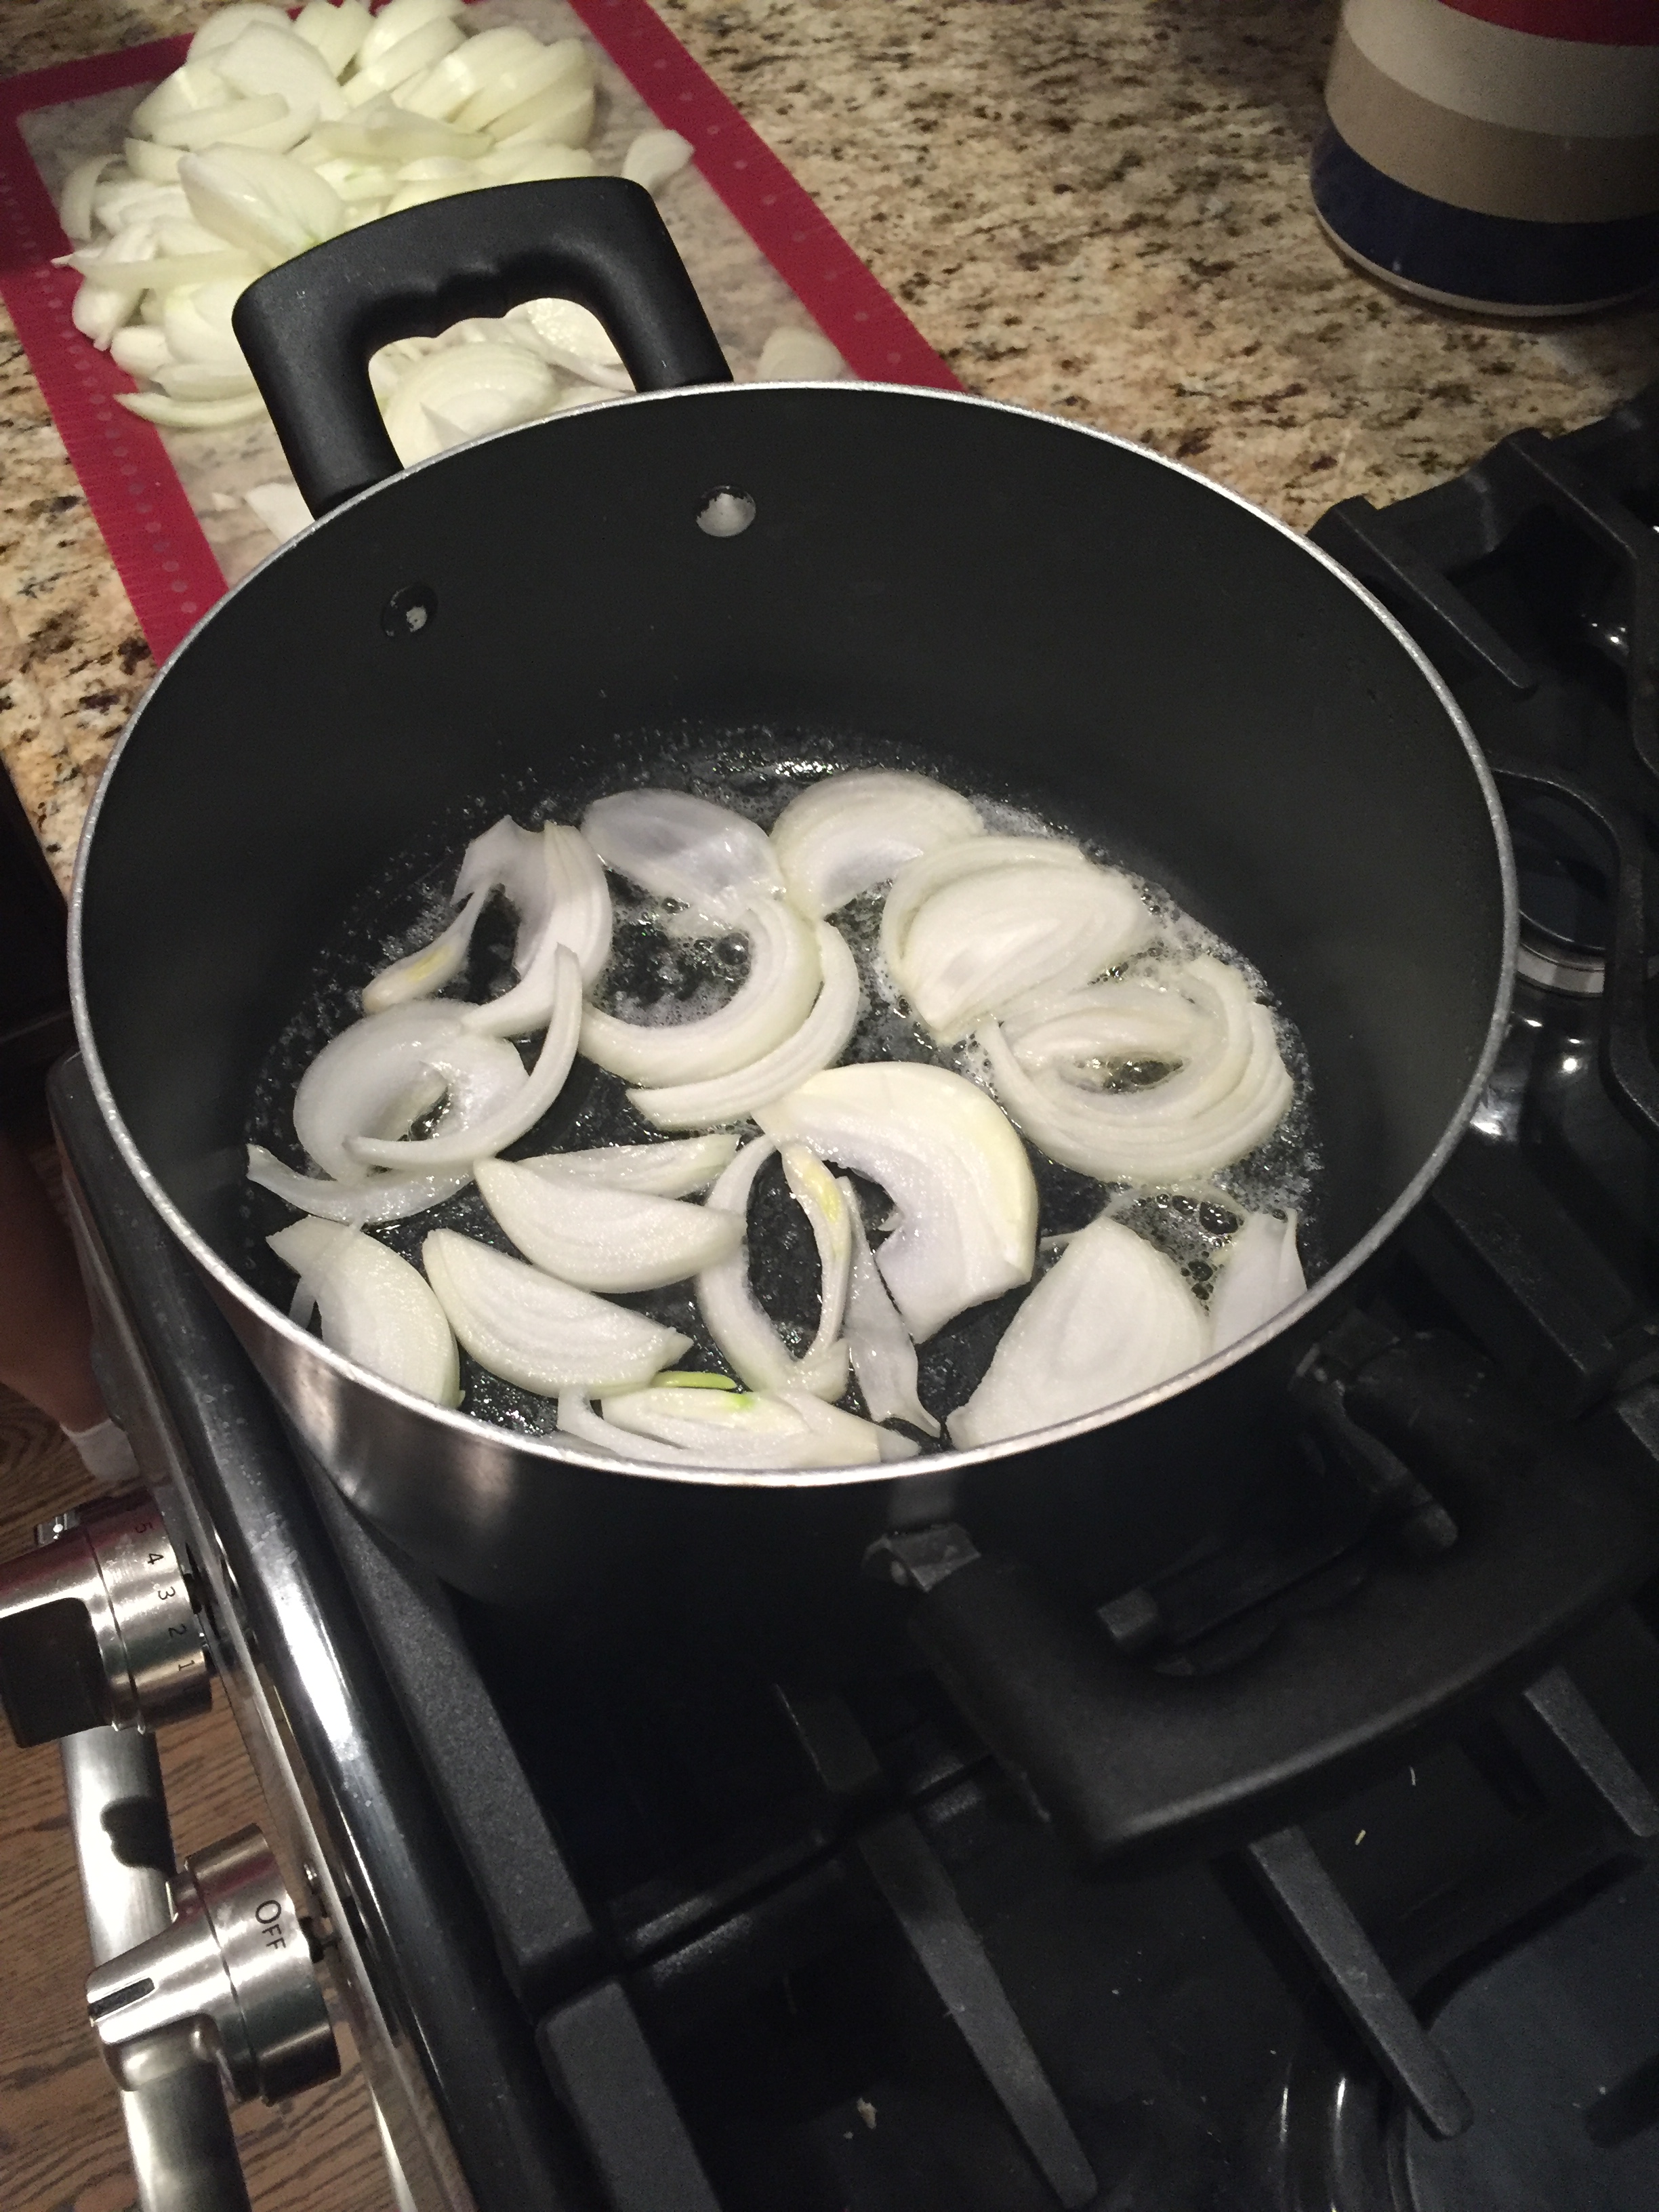
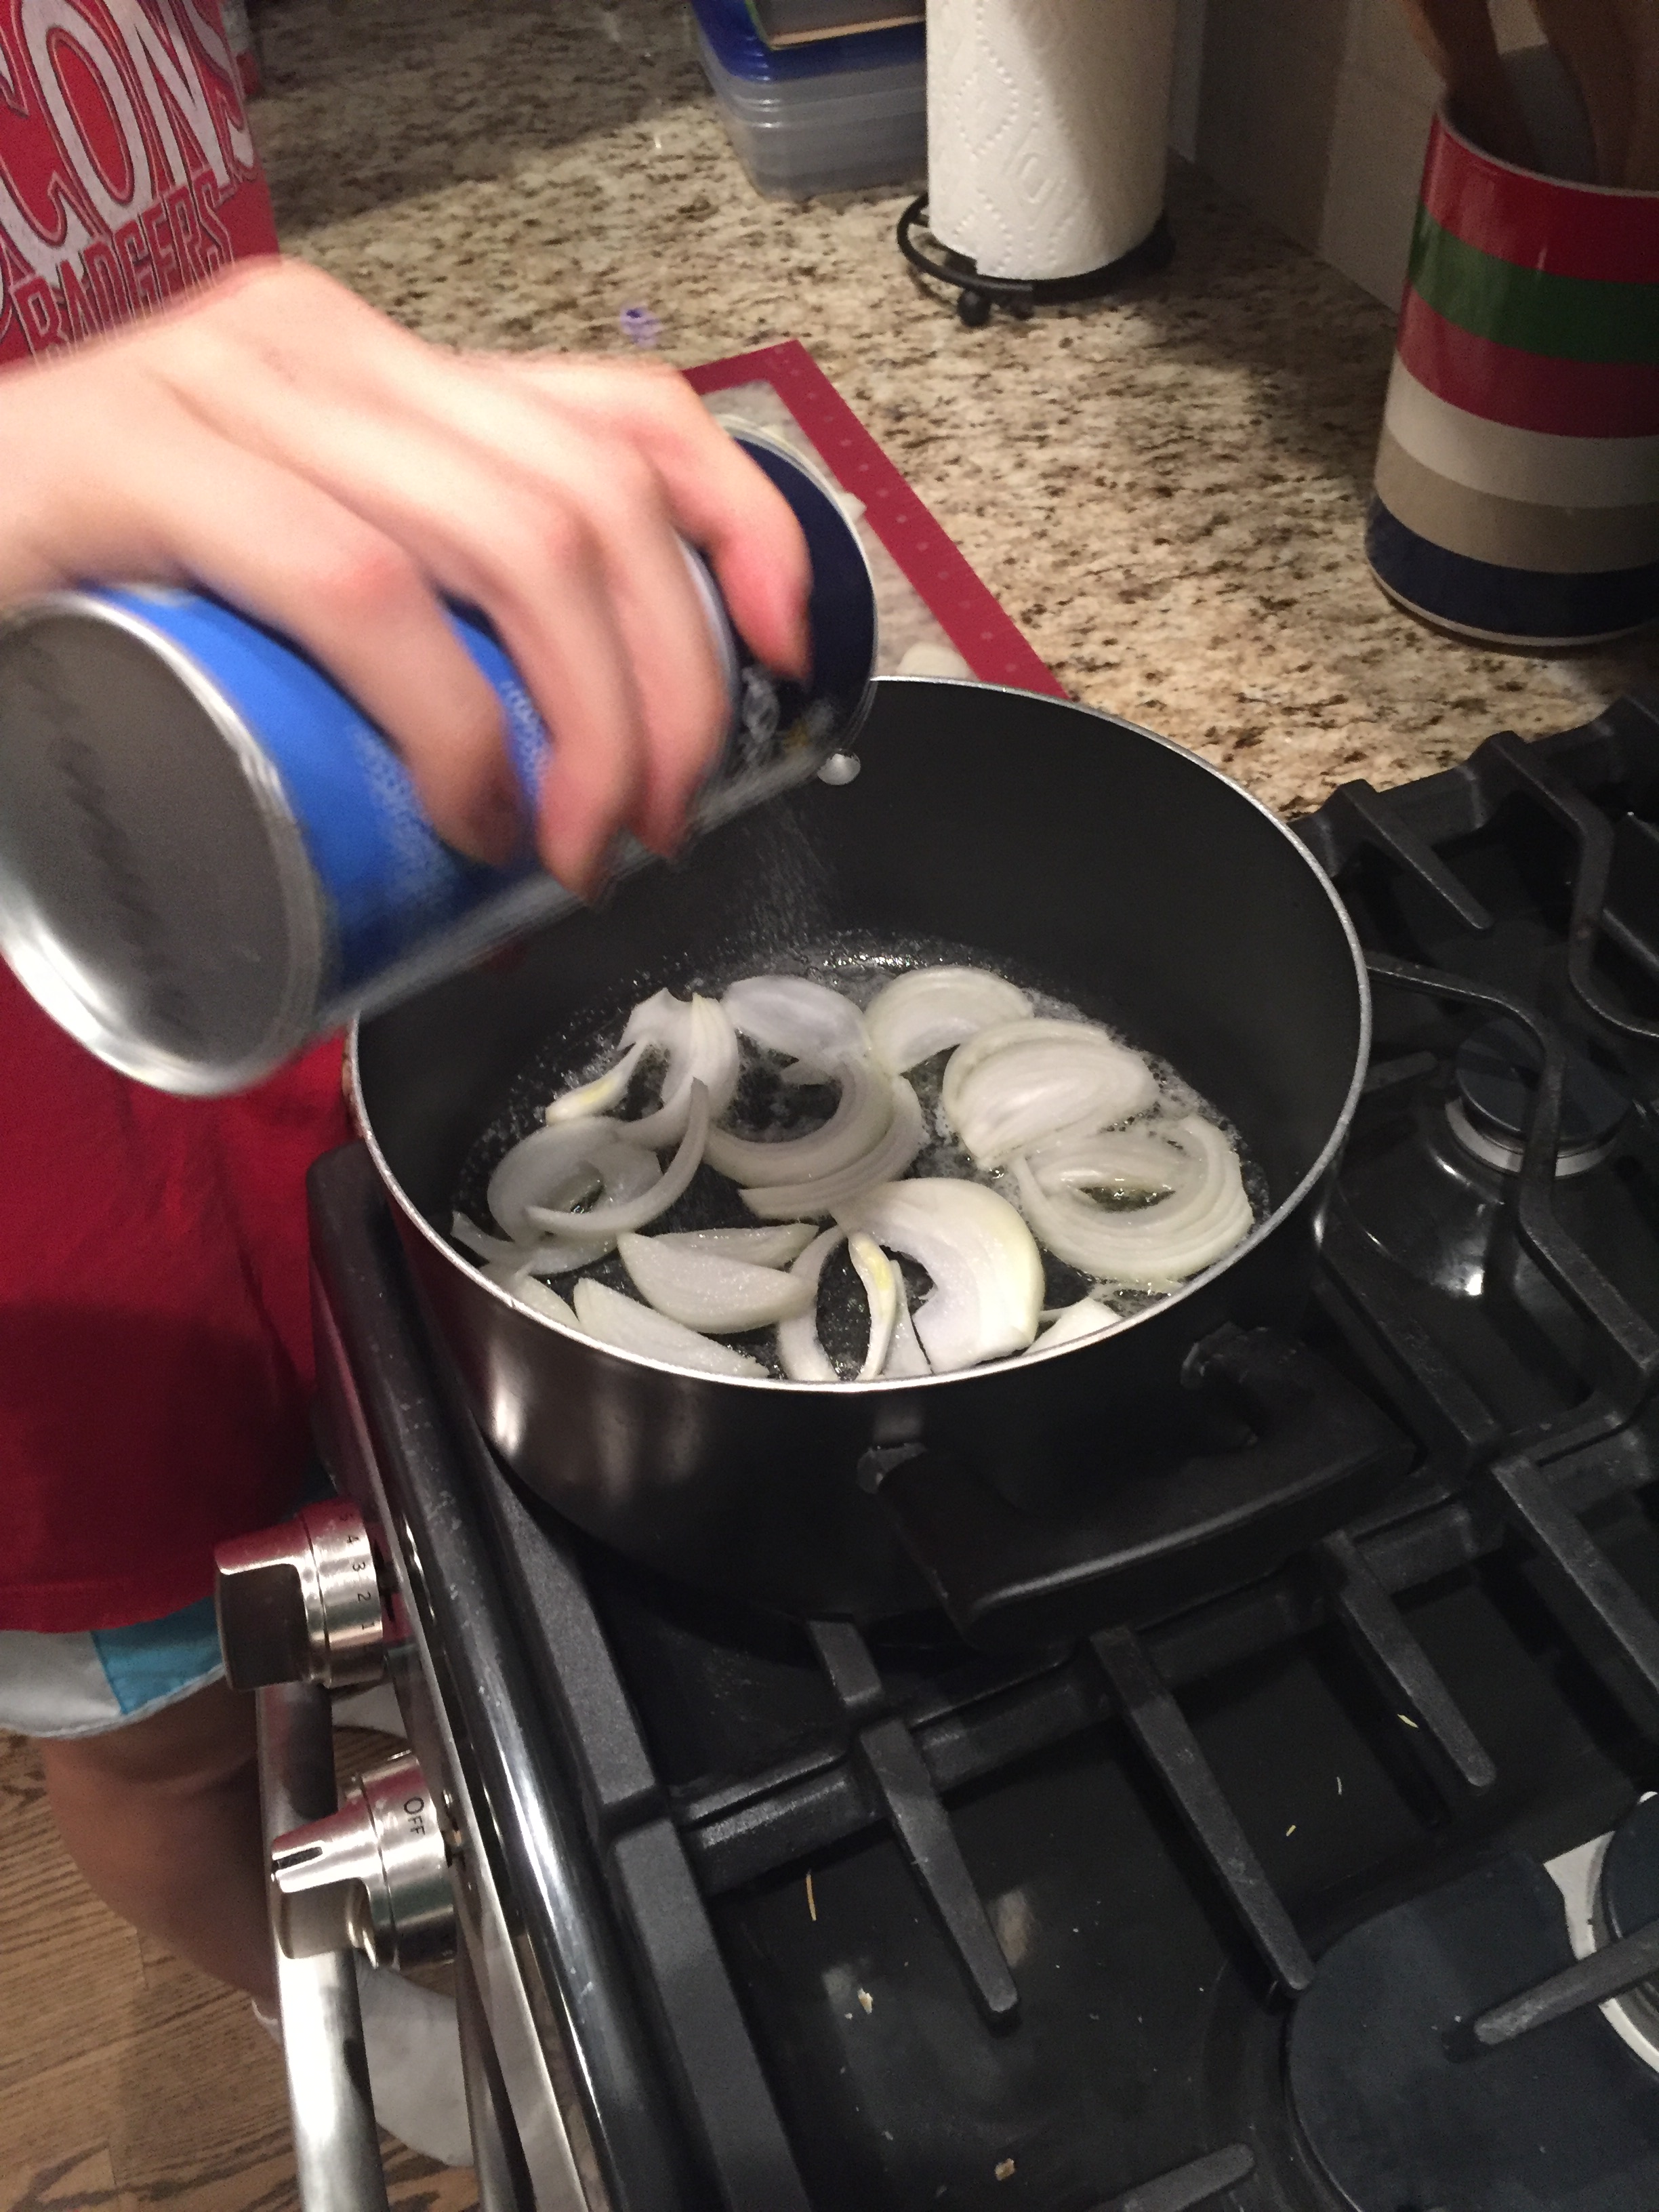
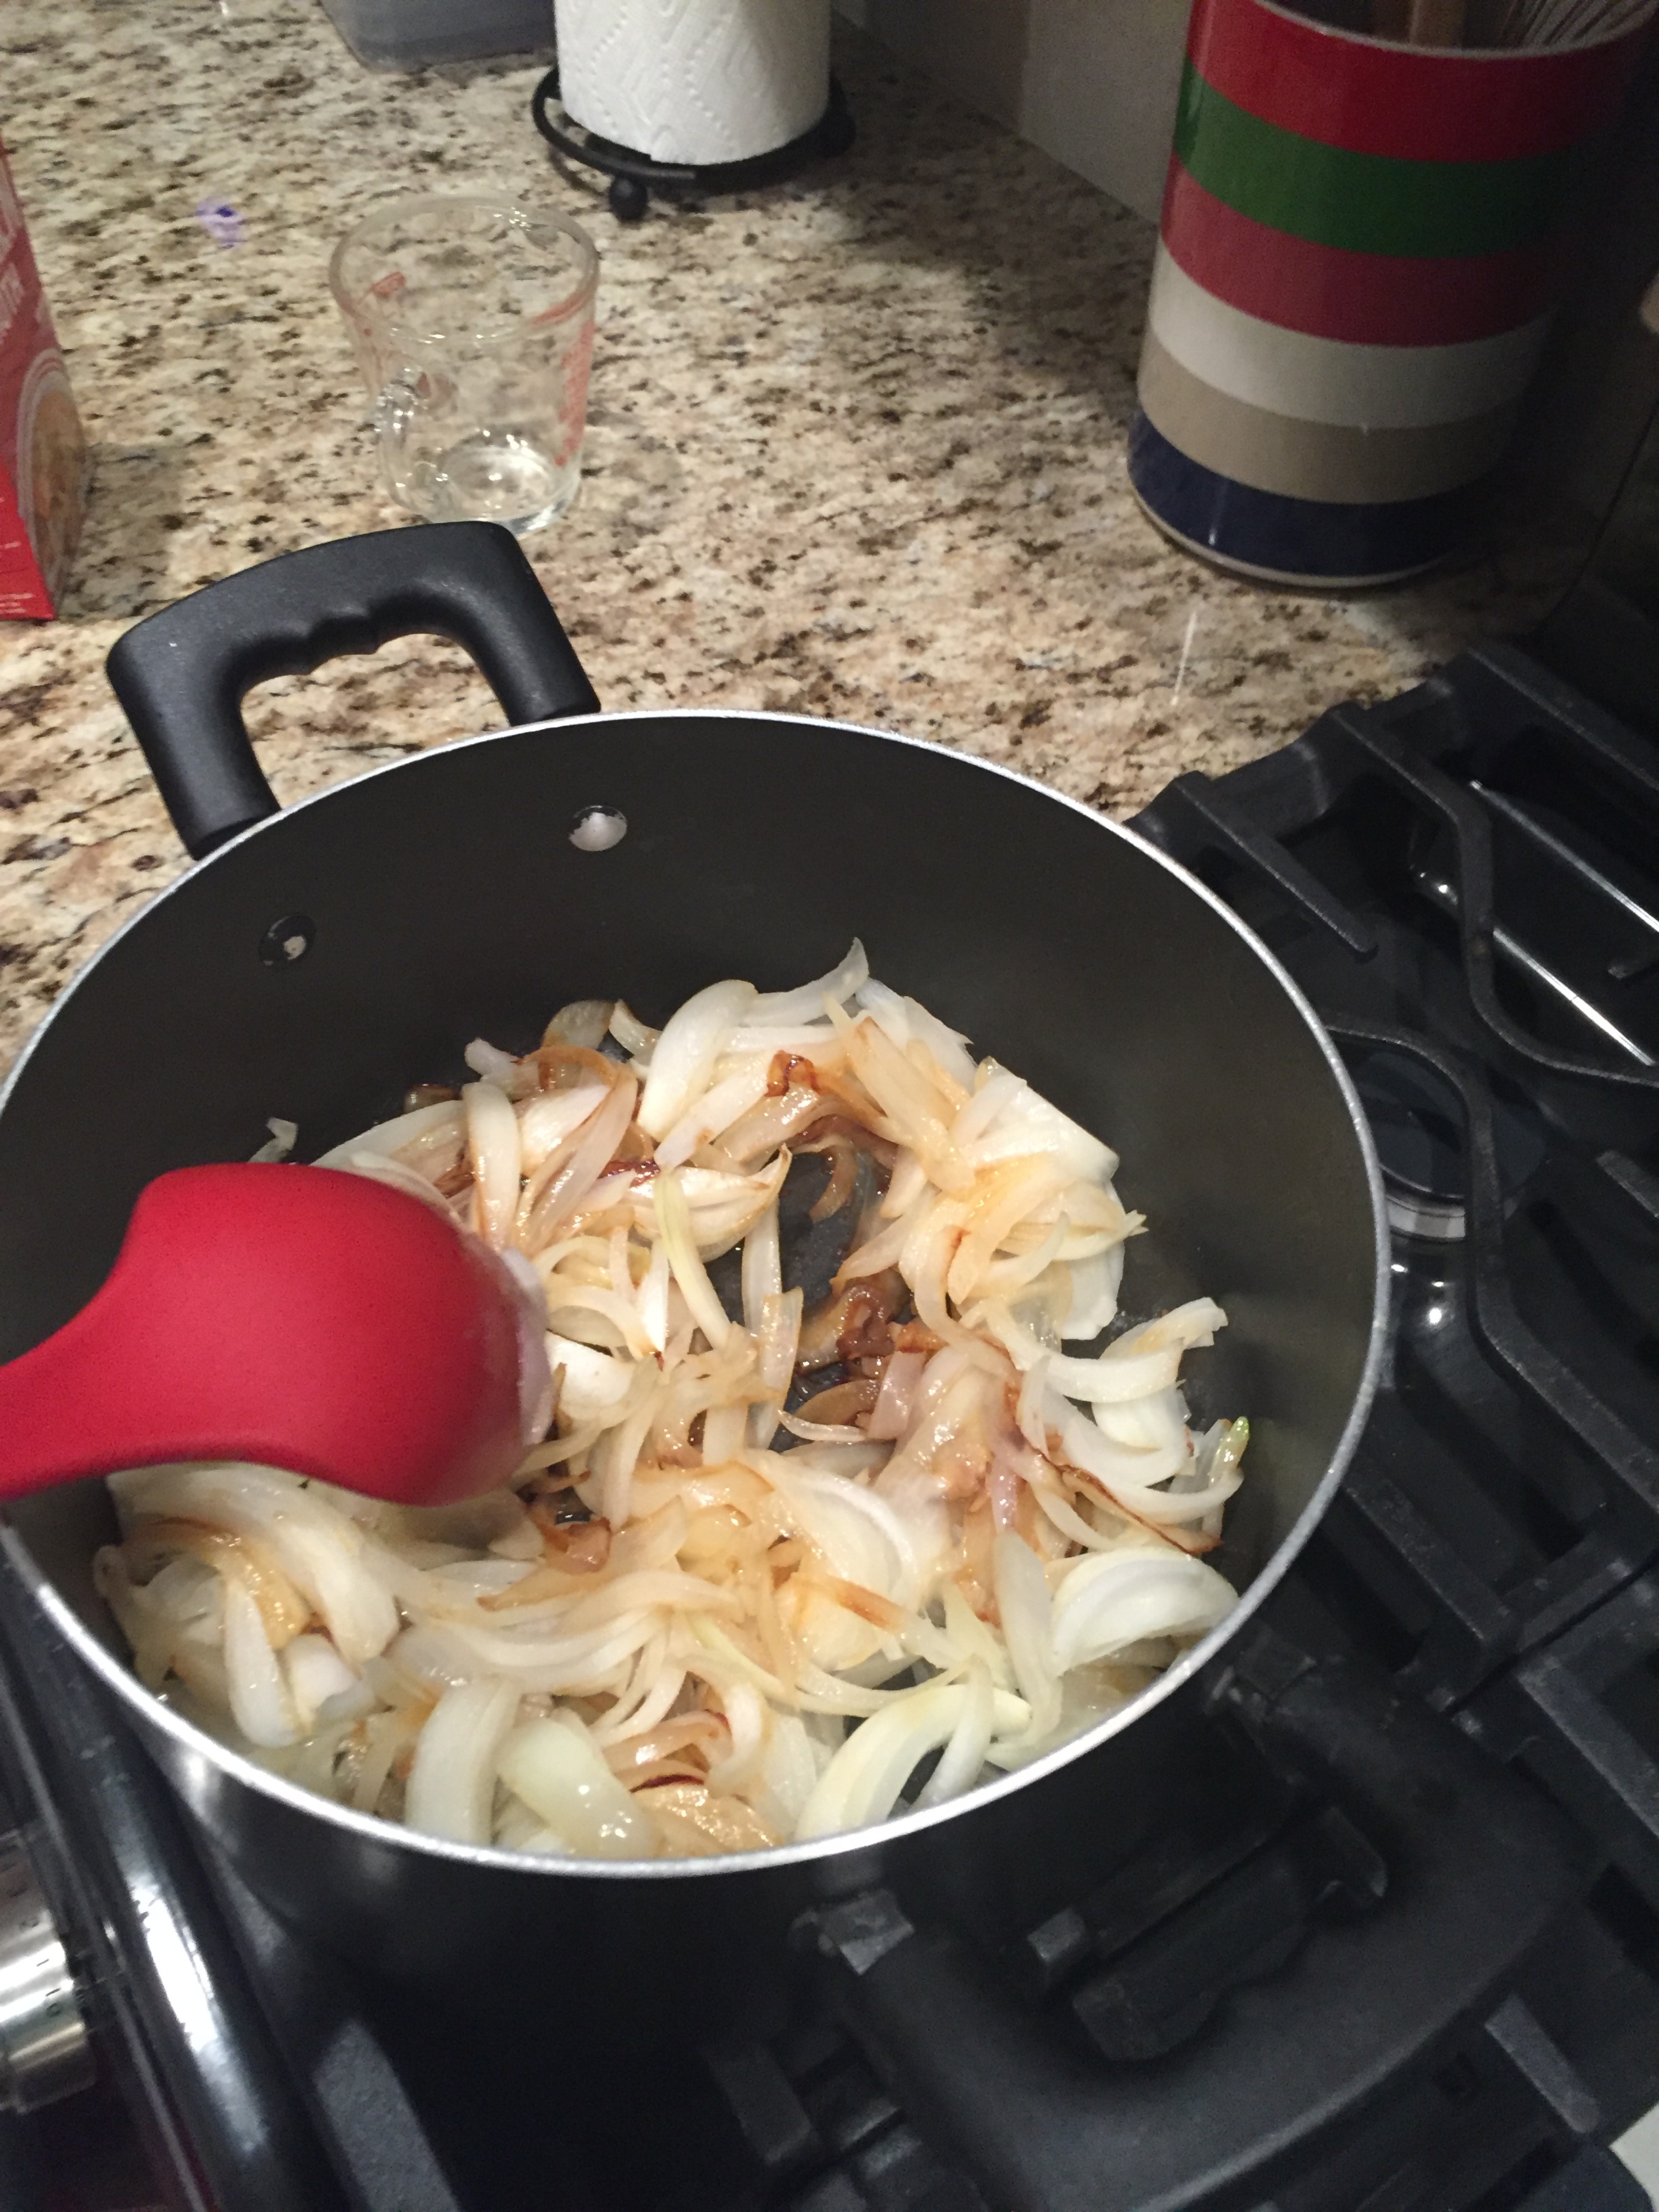
Once the butter is heated, you will add a layer of onion slices, then sprinkle some salt, and repeat untill all of the onions are in the pot. It is going to be hard but now don't touch or stir the onions. You have to wait until they have sweated down for about 15-20 minutes and then you can begin stirring occasionally for another 40ish minutes.
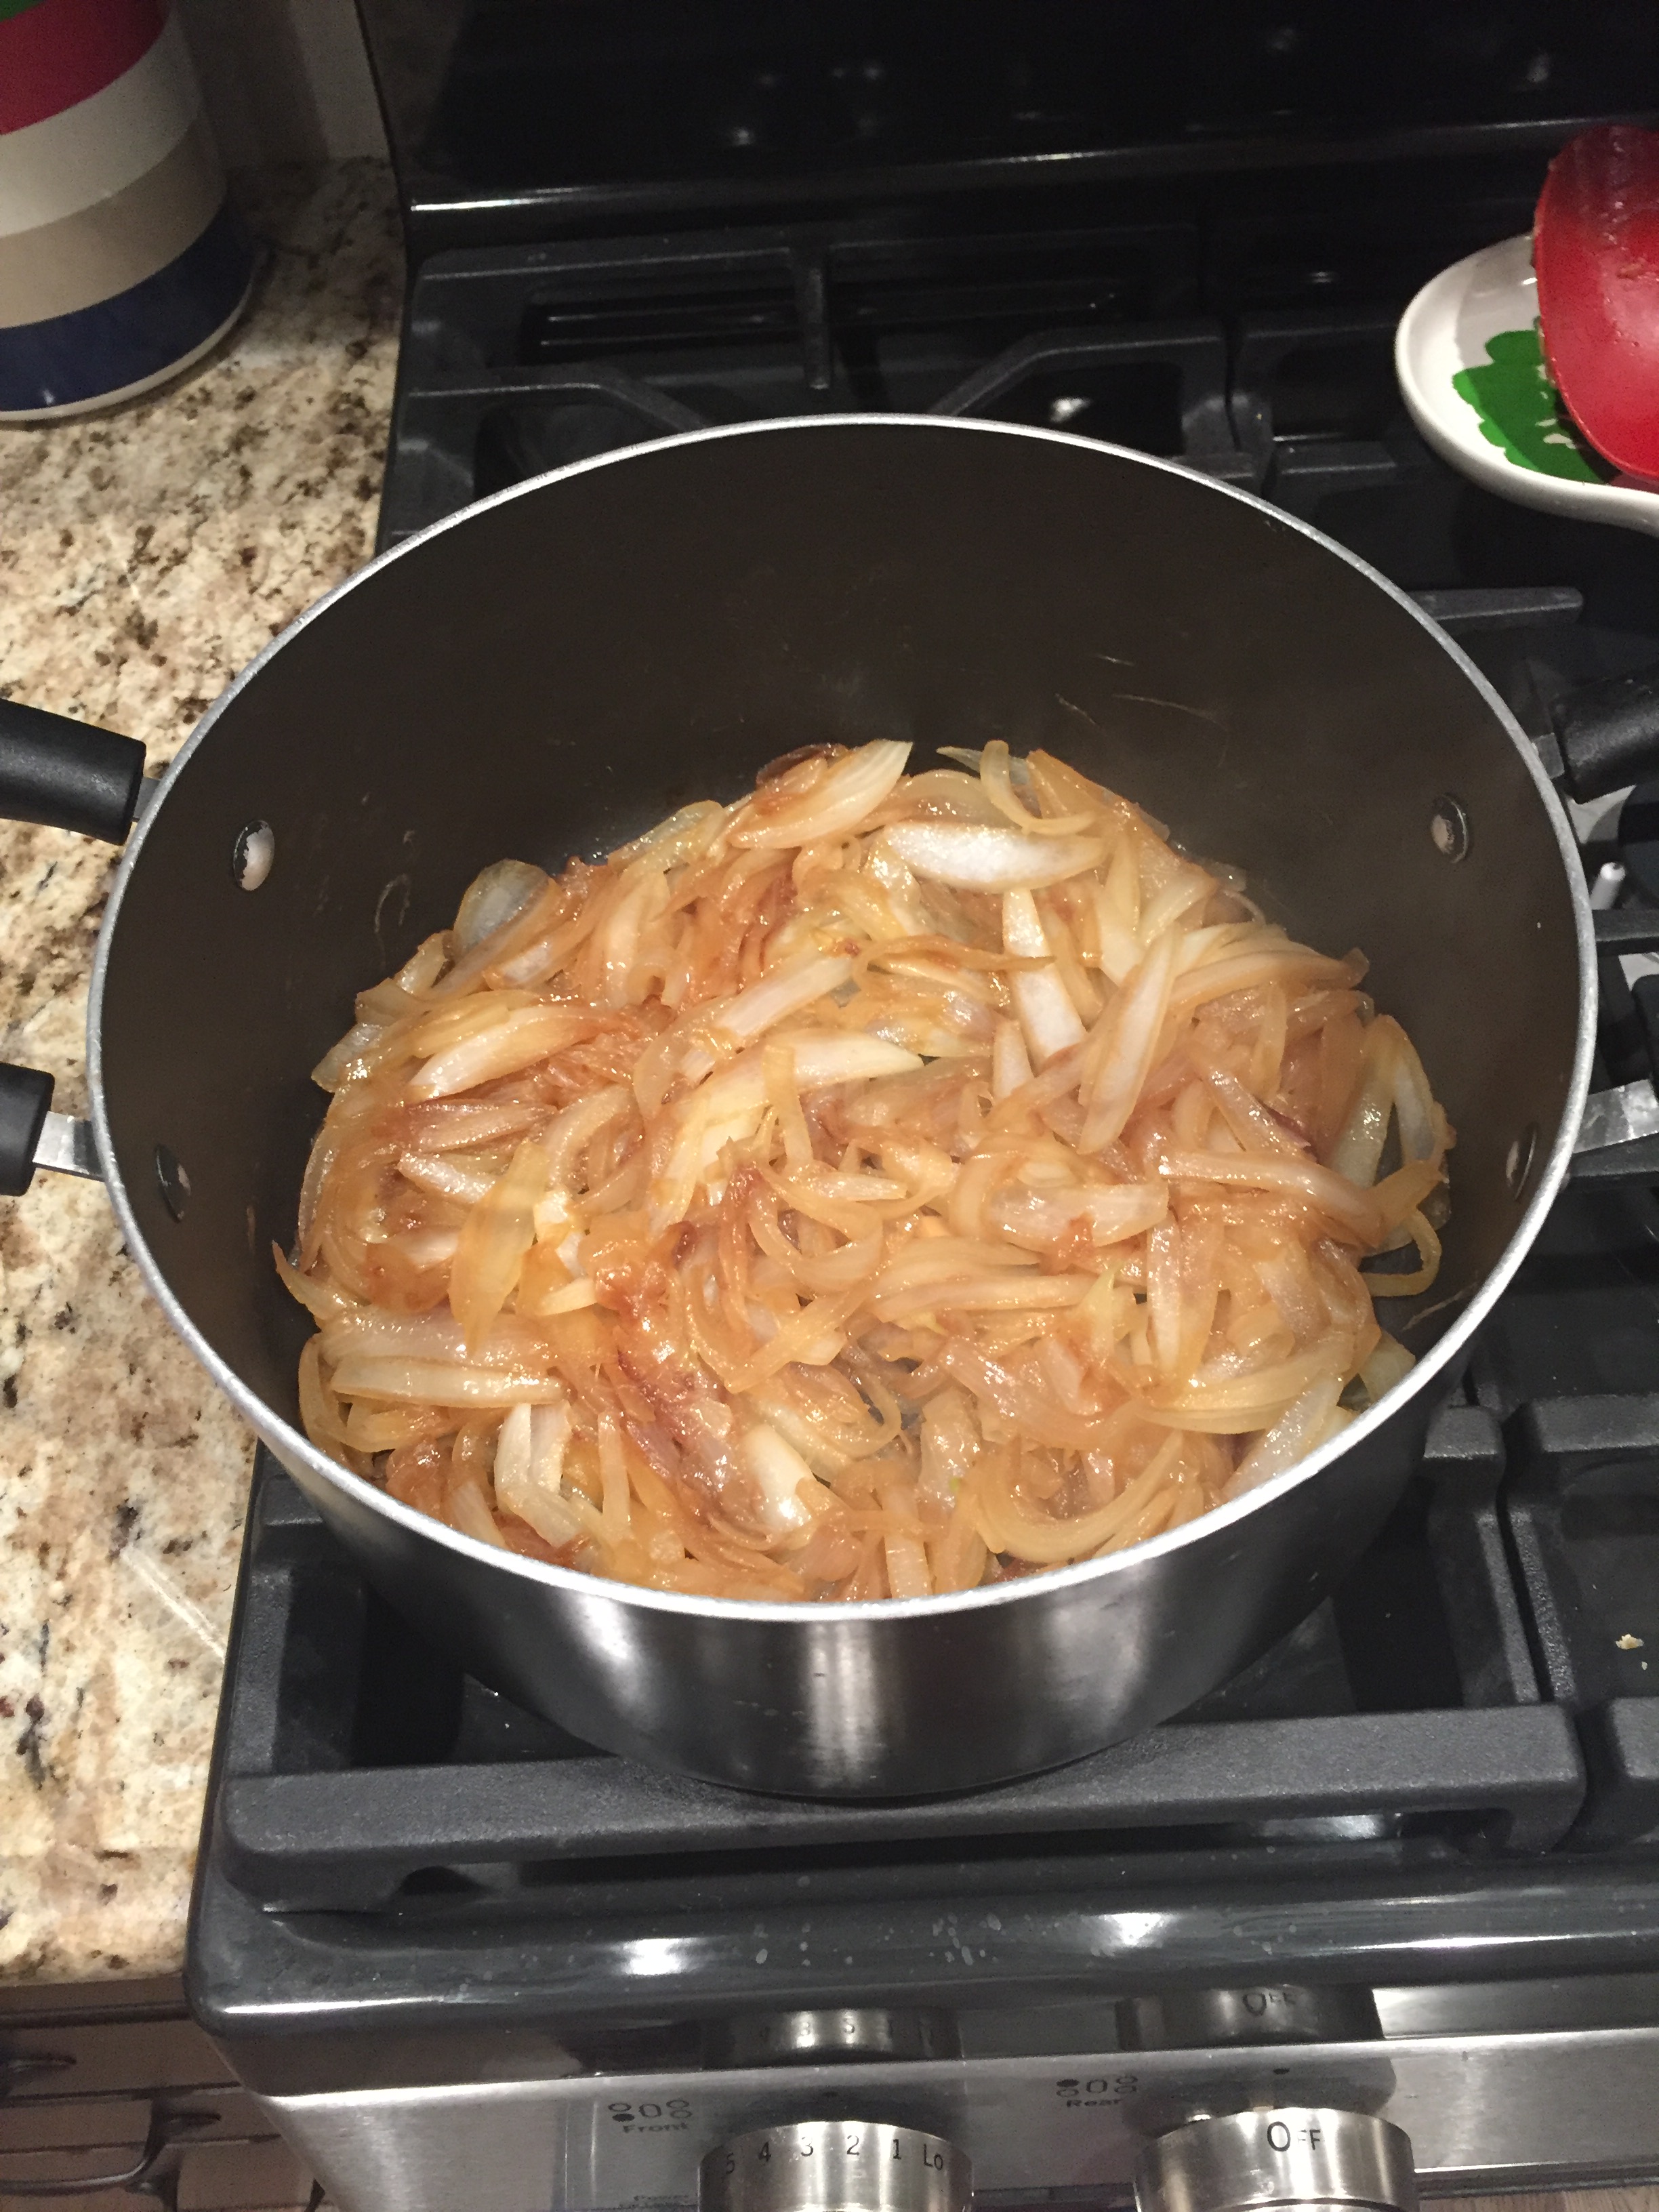
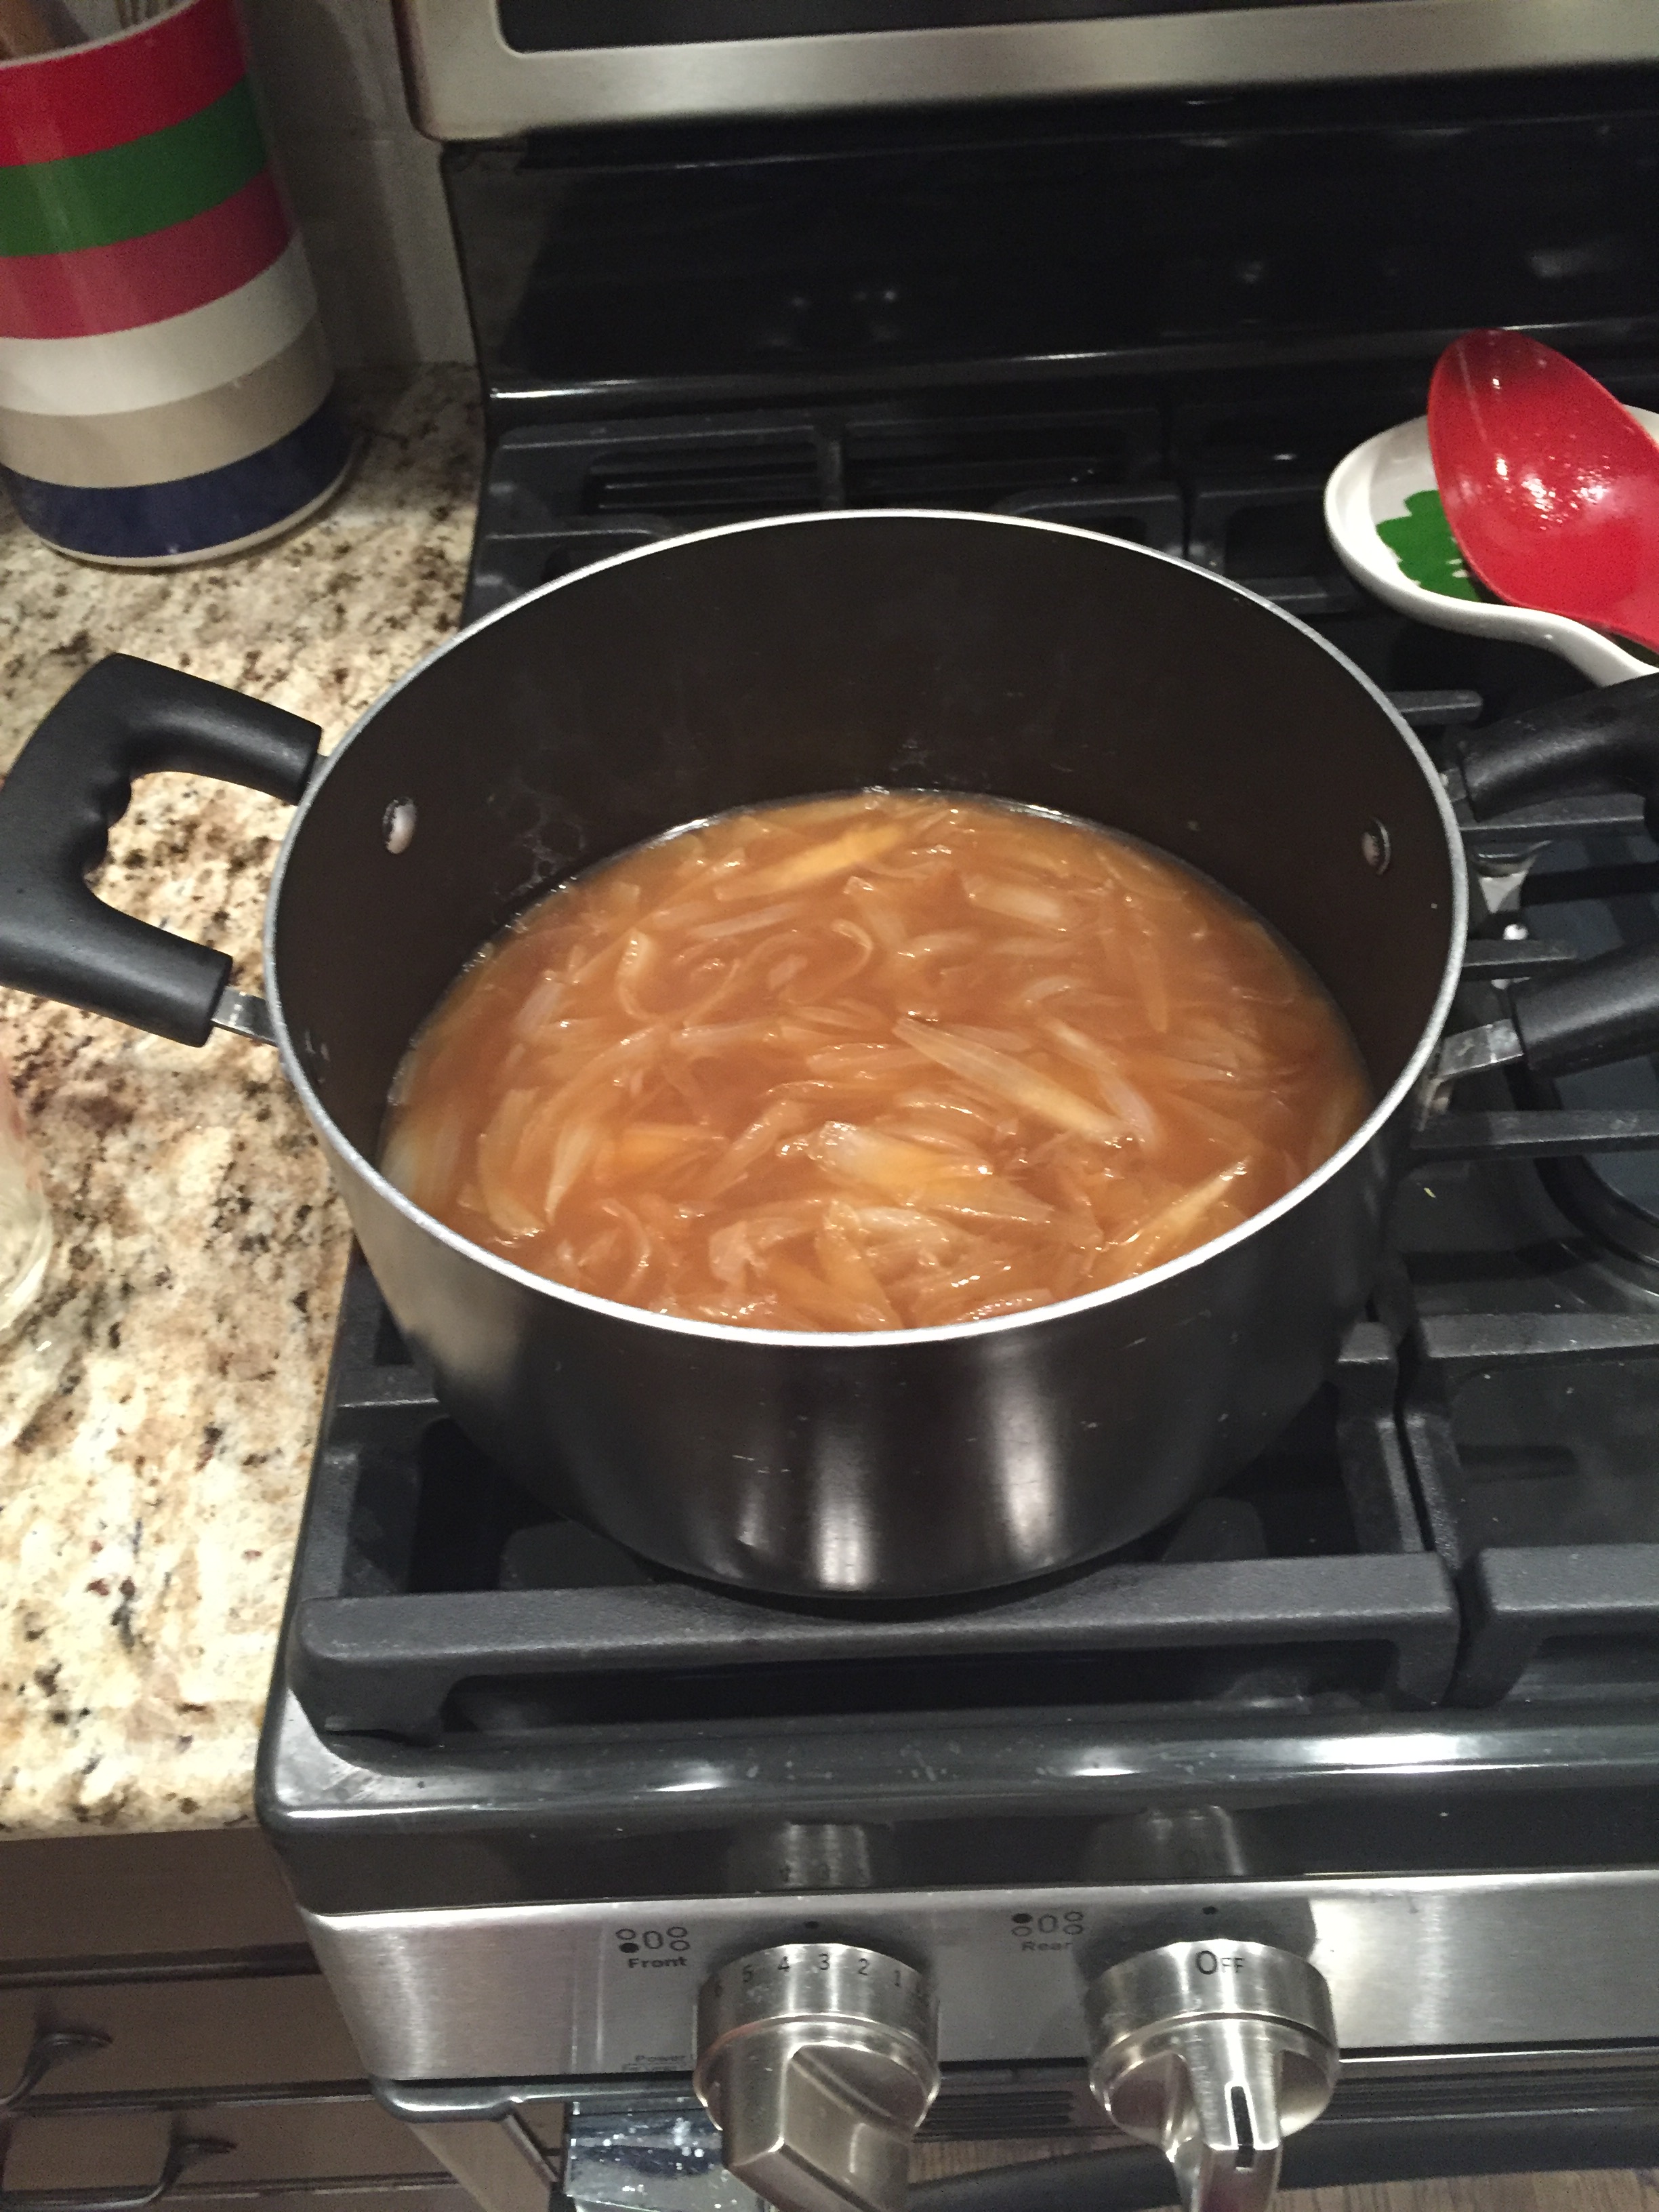
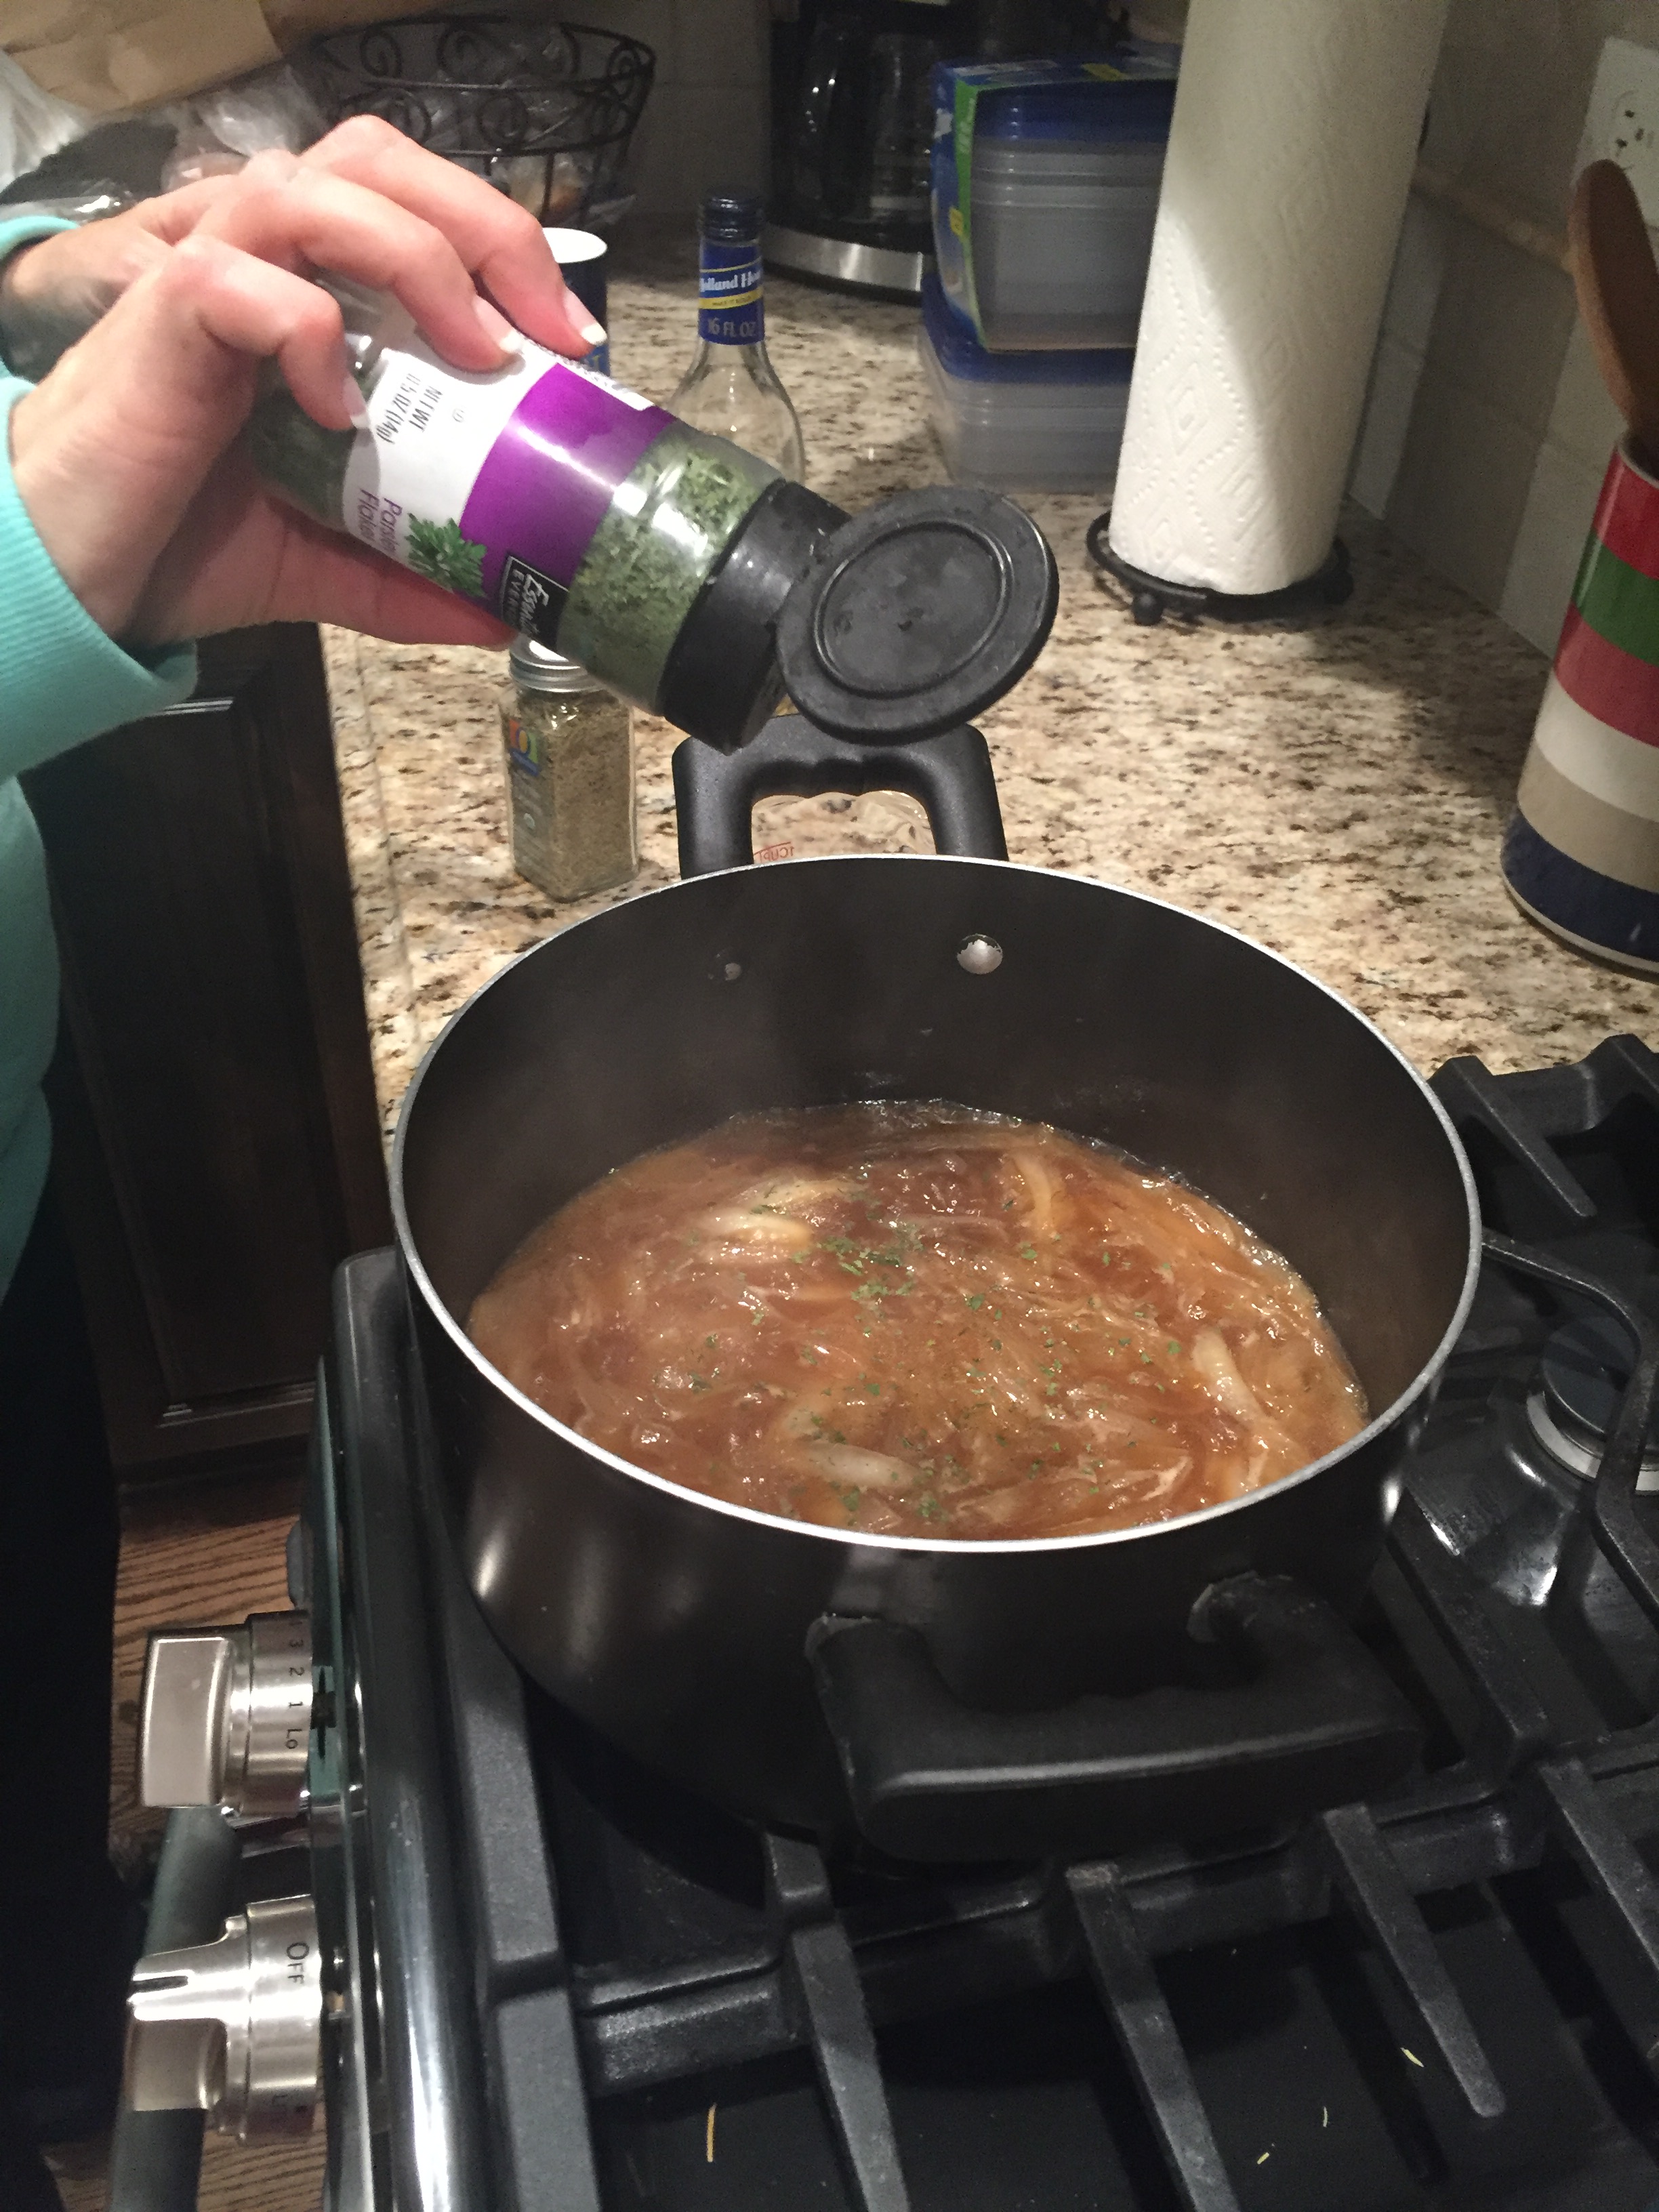
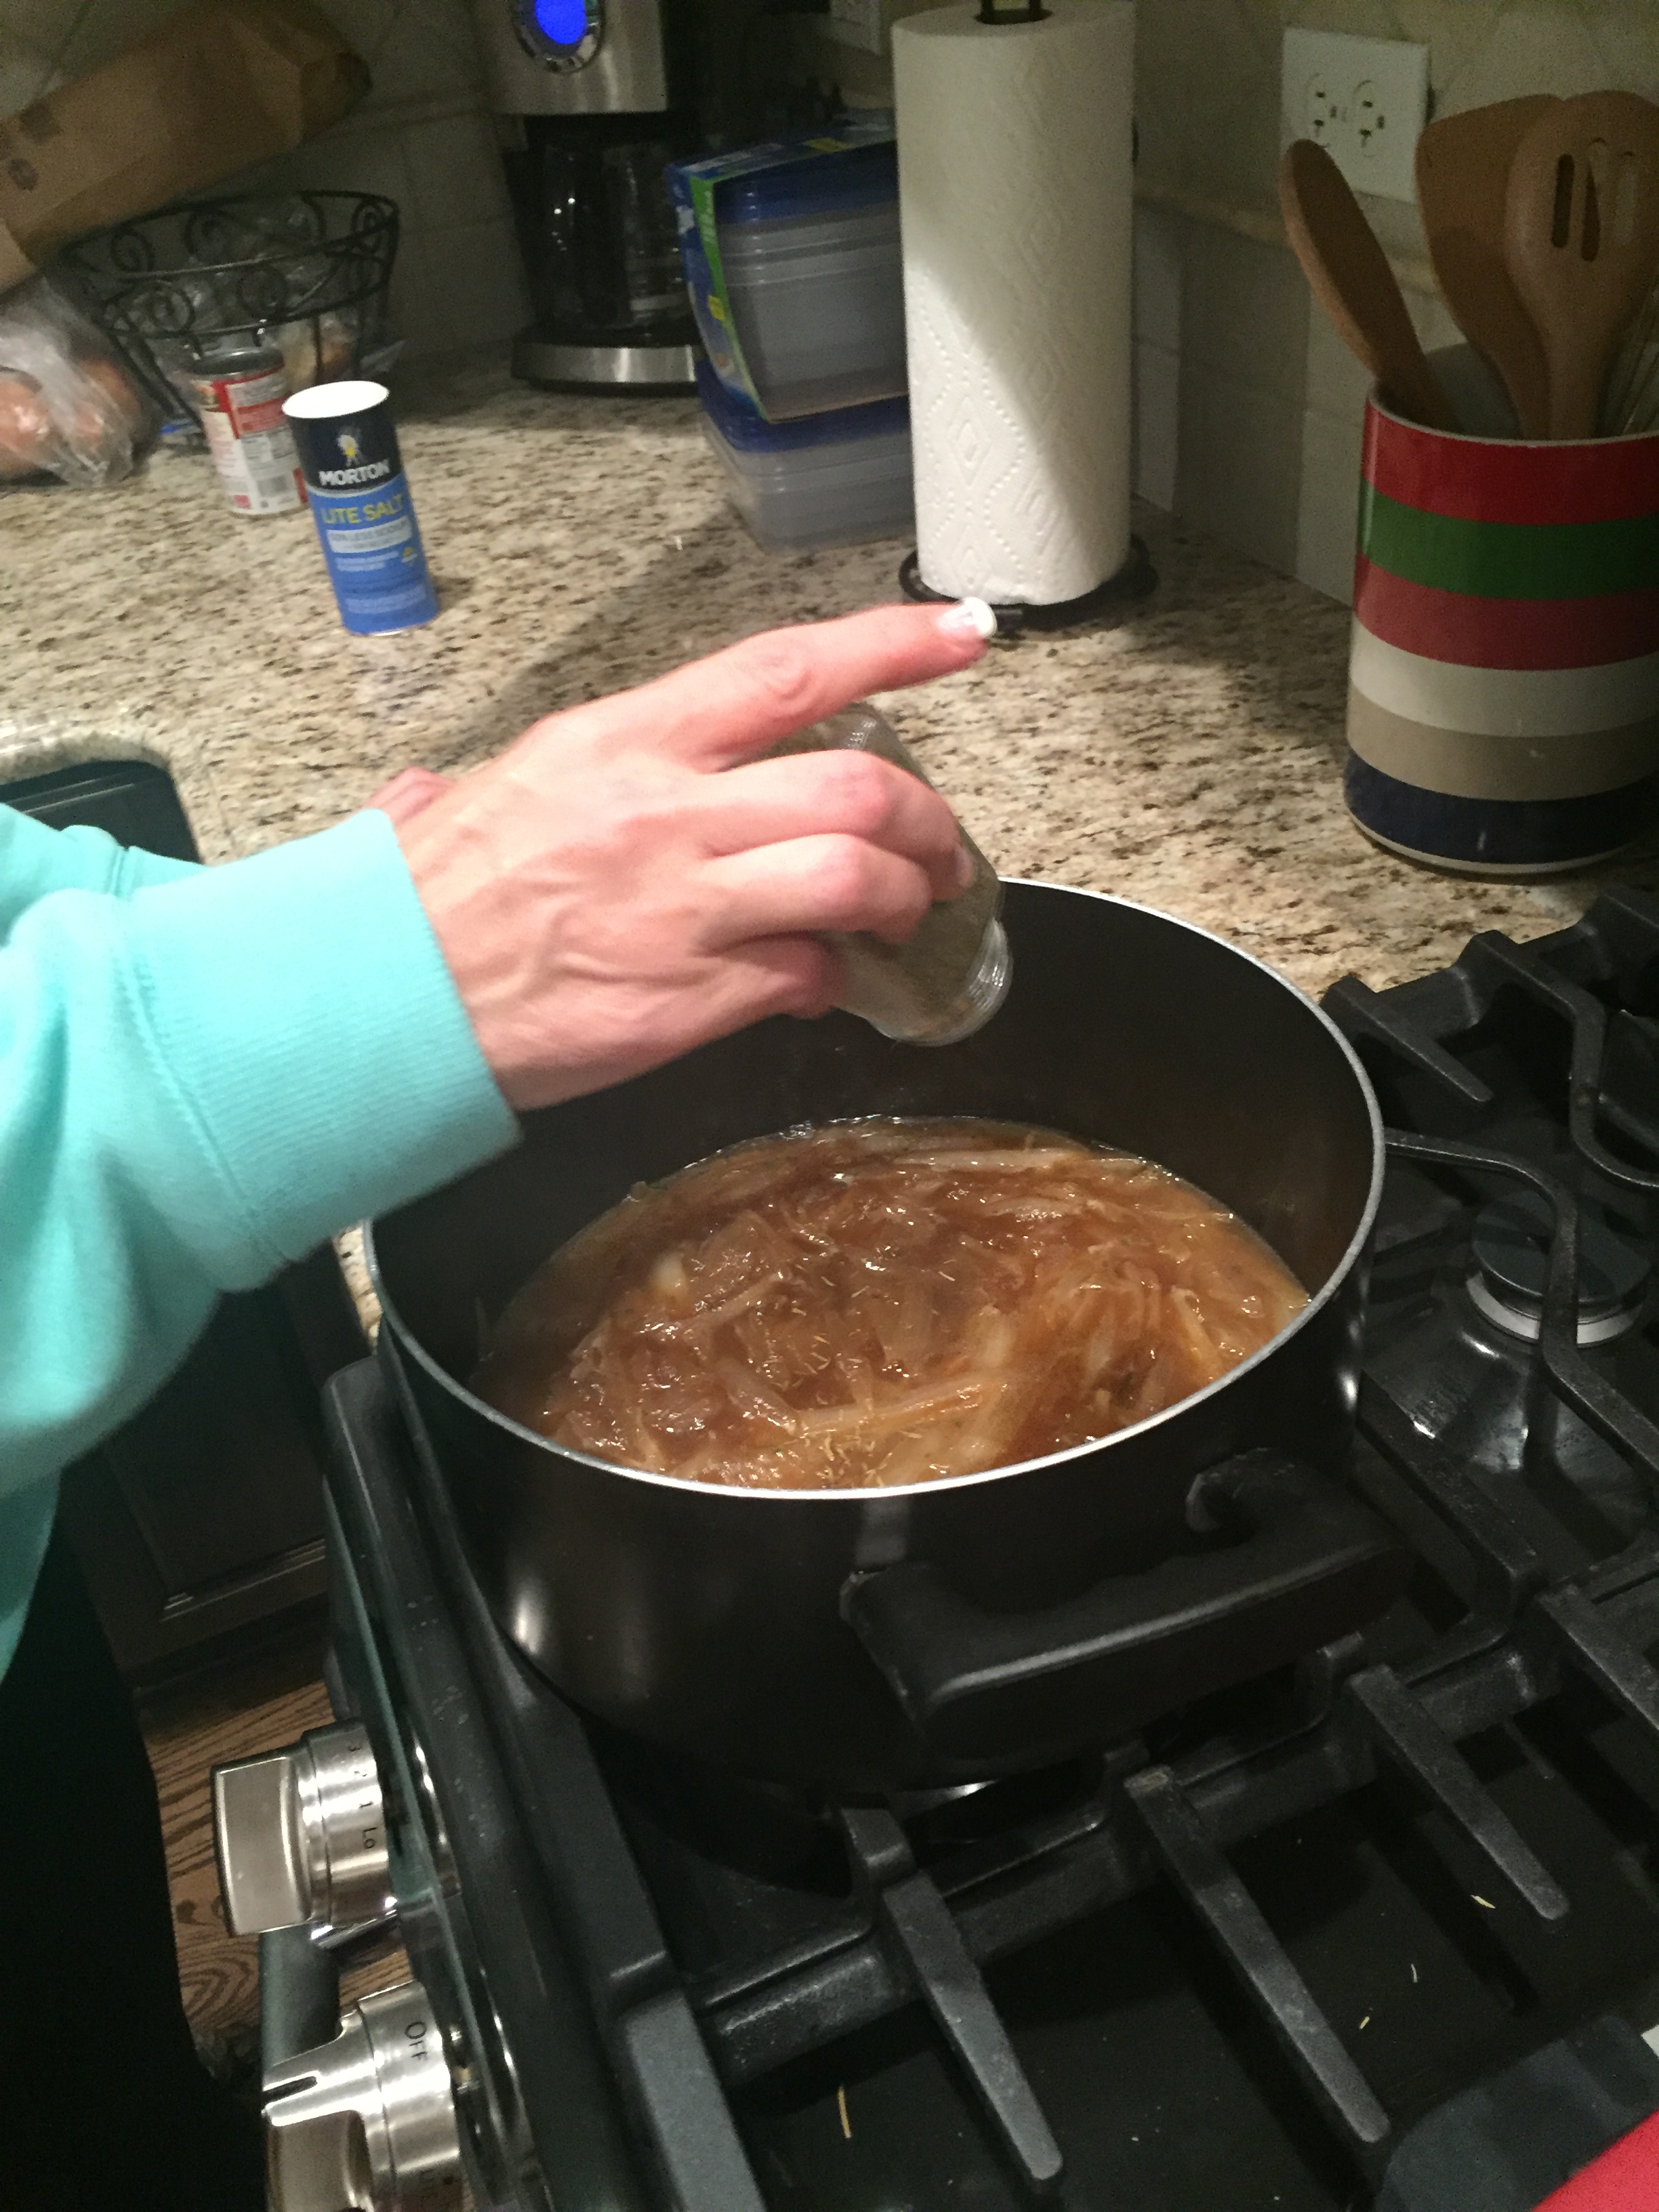
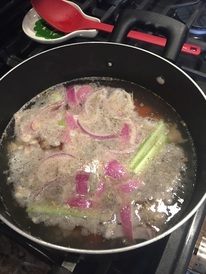
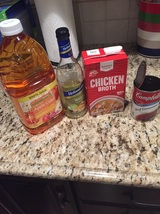
Once the onions are all a mahogany color, they should be done. Then you will need to add your wine to cover the onions and turn to high heat for a few minutes. After this mixture has a syrup-like consistency, add in all of the other liquids. This includes the beef consume, chicken broth, and apple cider. I added my spices here as well, to allow the flavor to begin to soak in. Then turn the heat back down and let this mixture simmer for about 15 minutes.
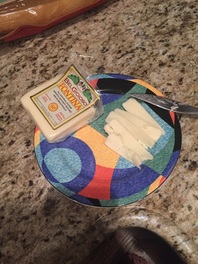
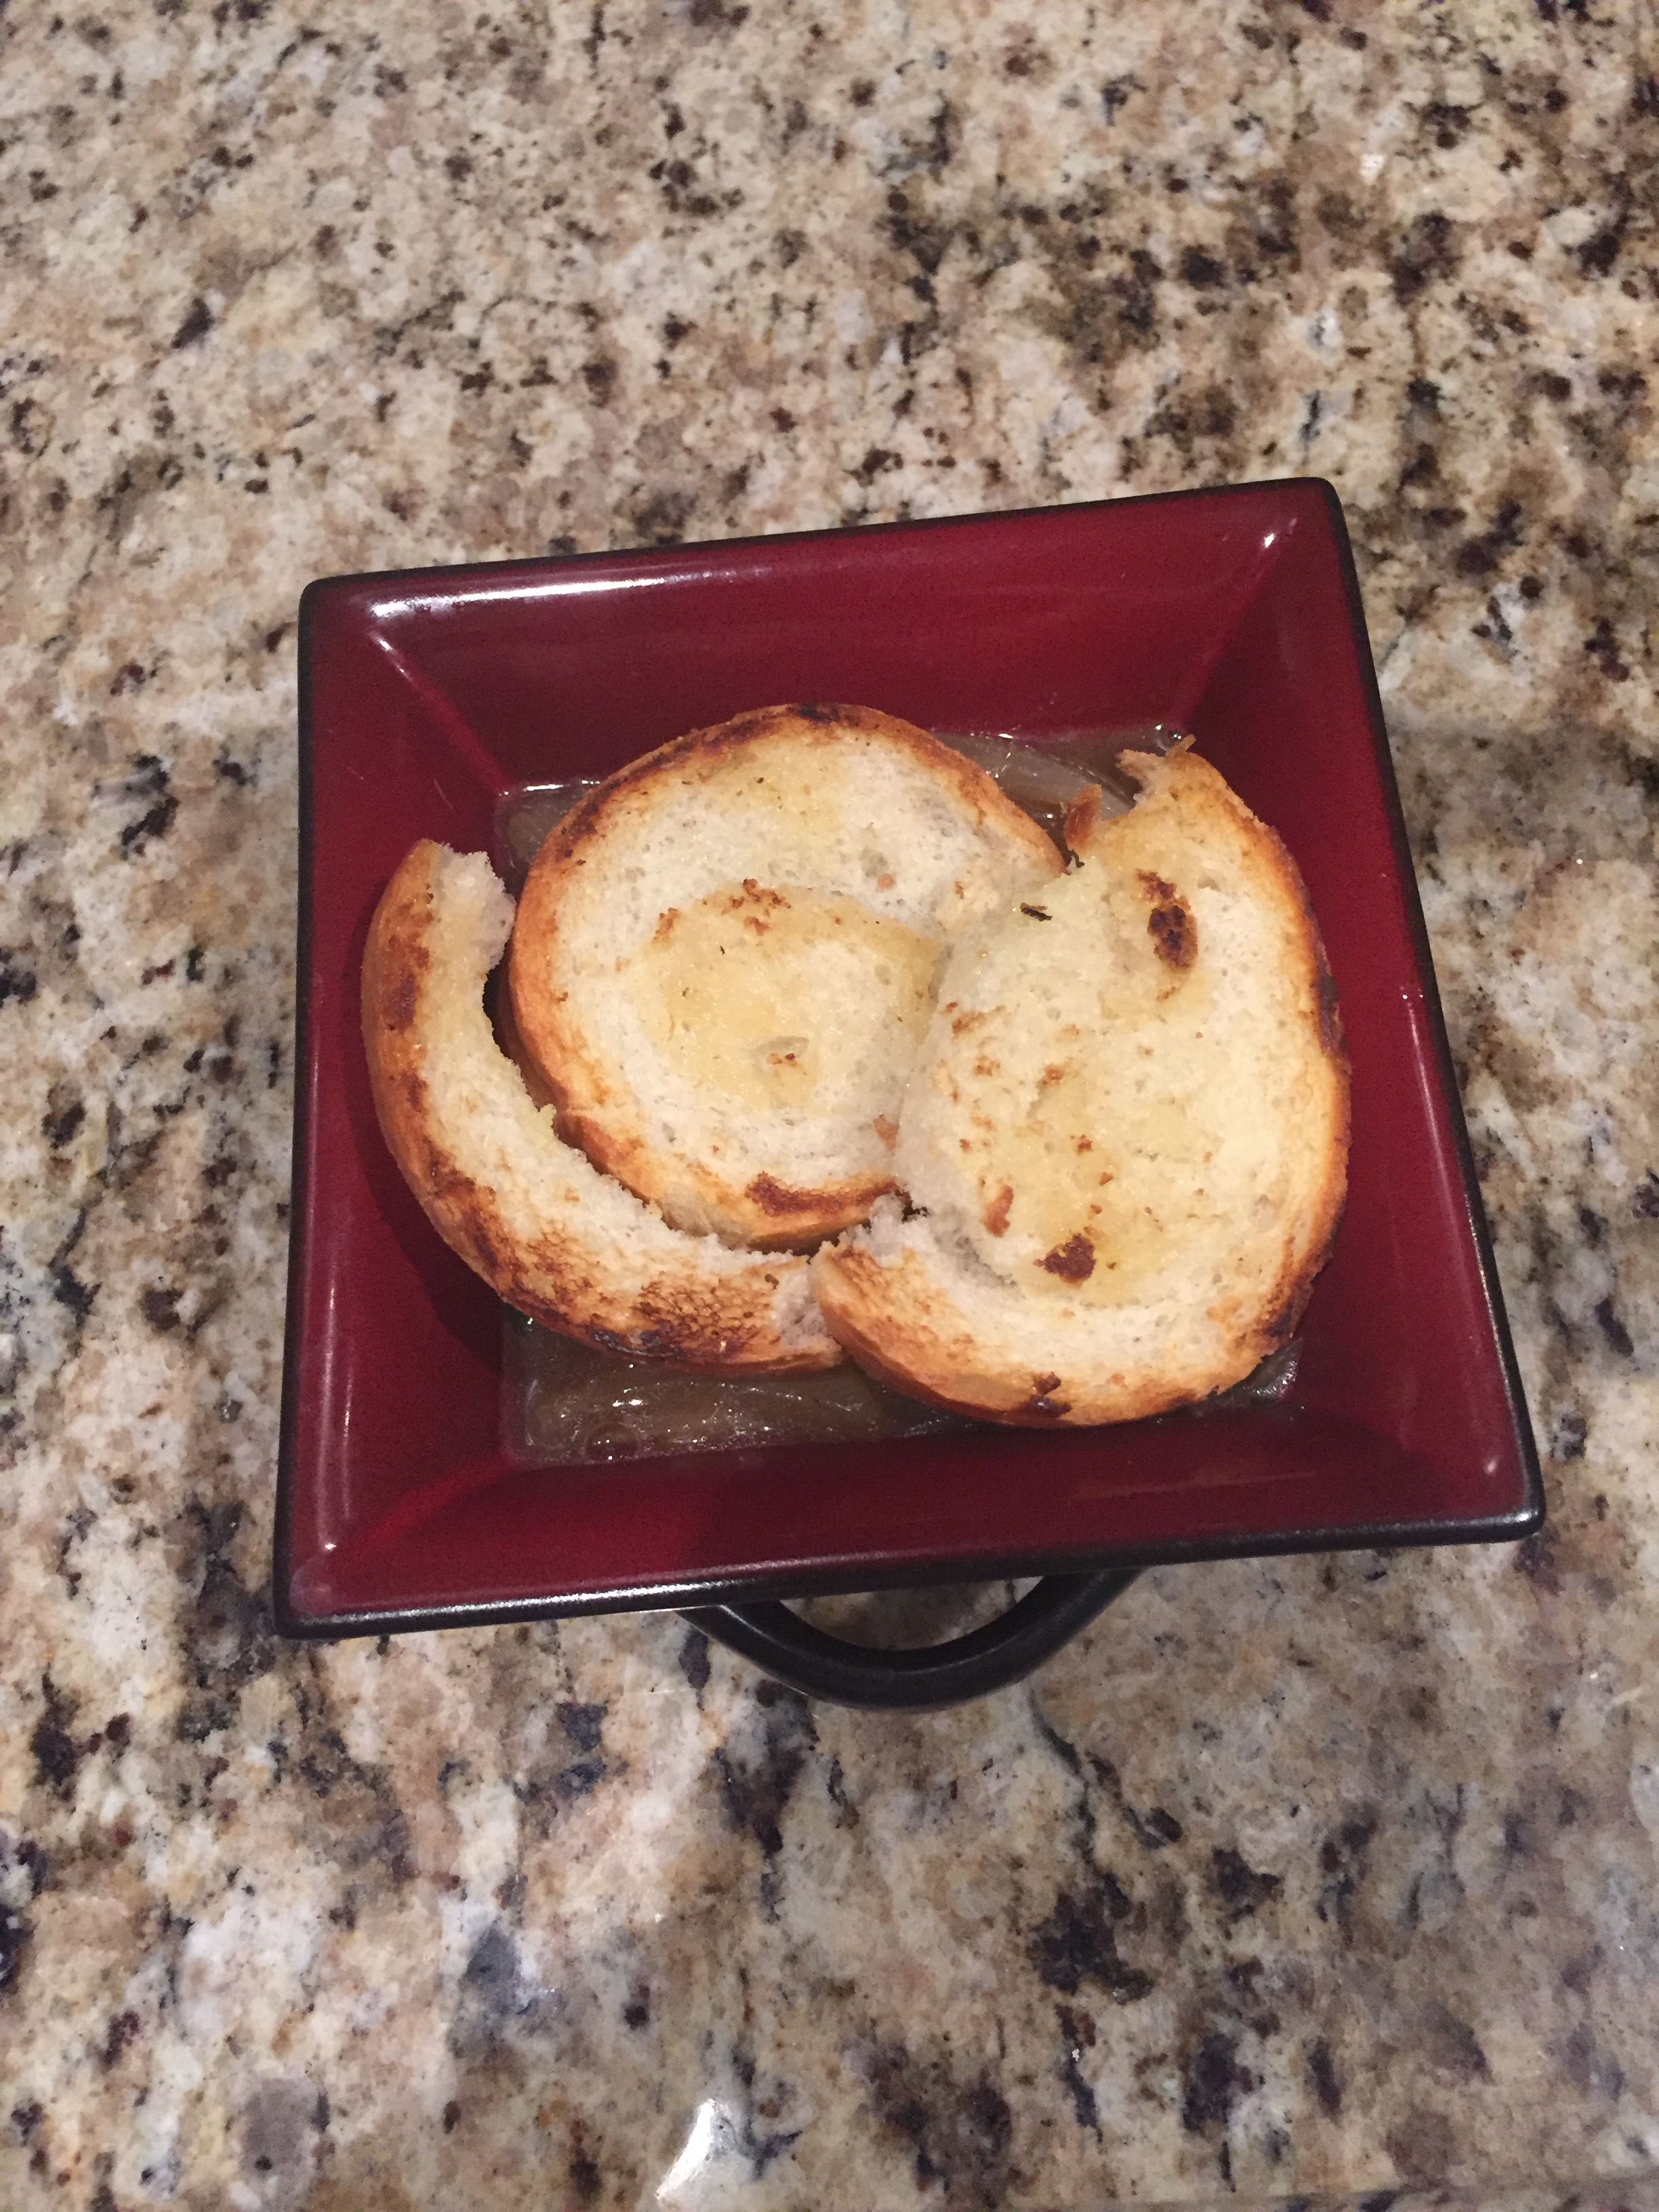
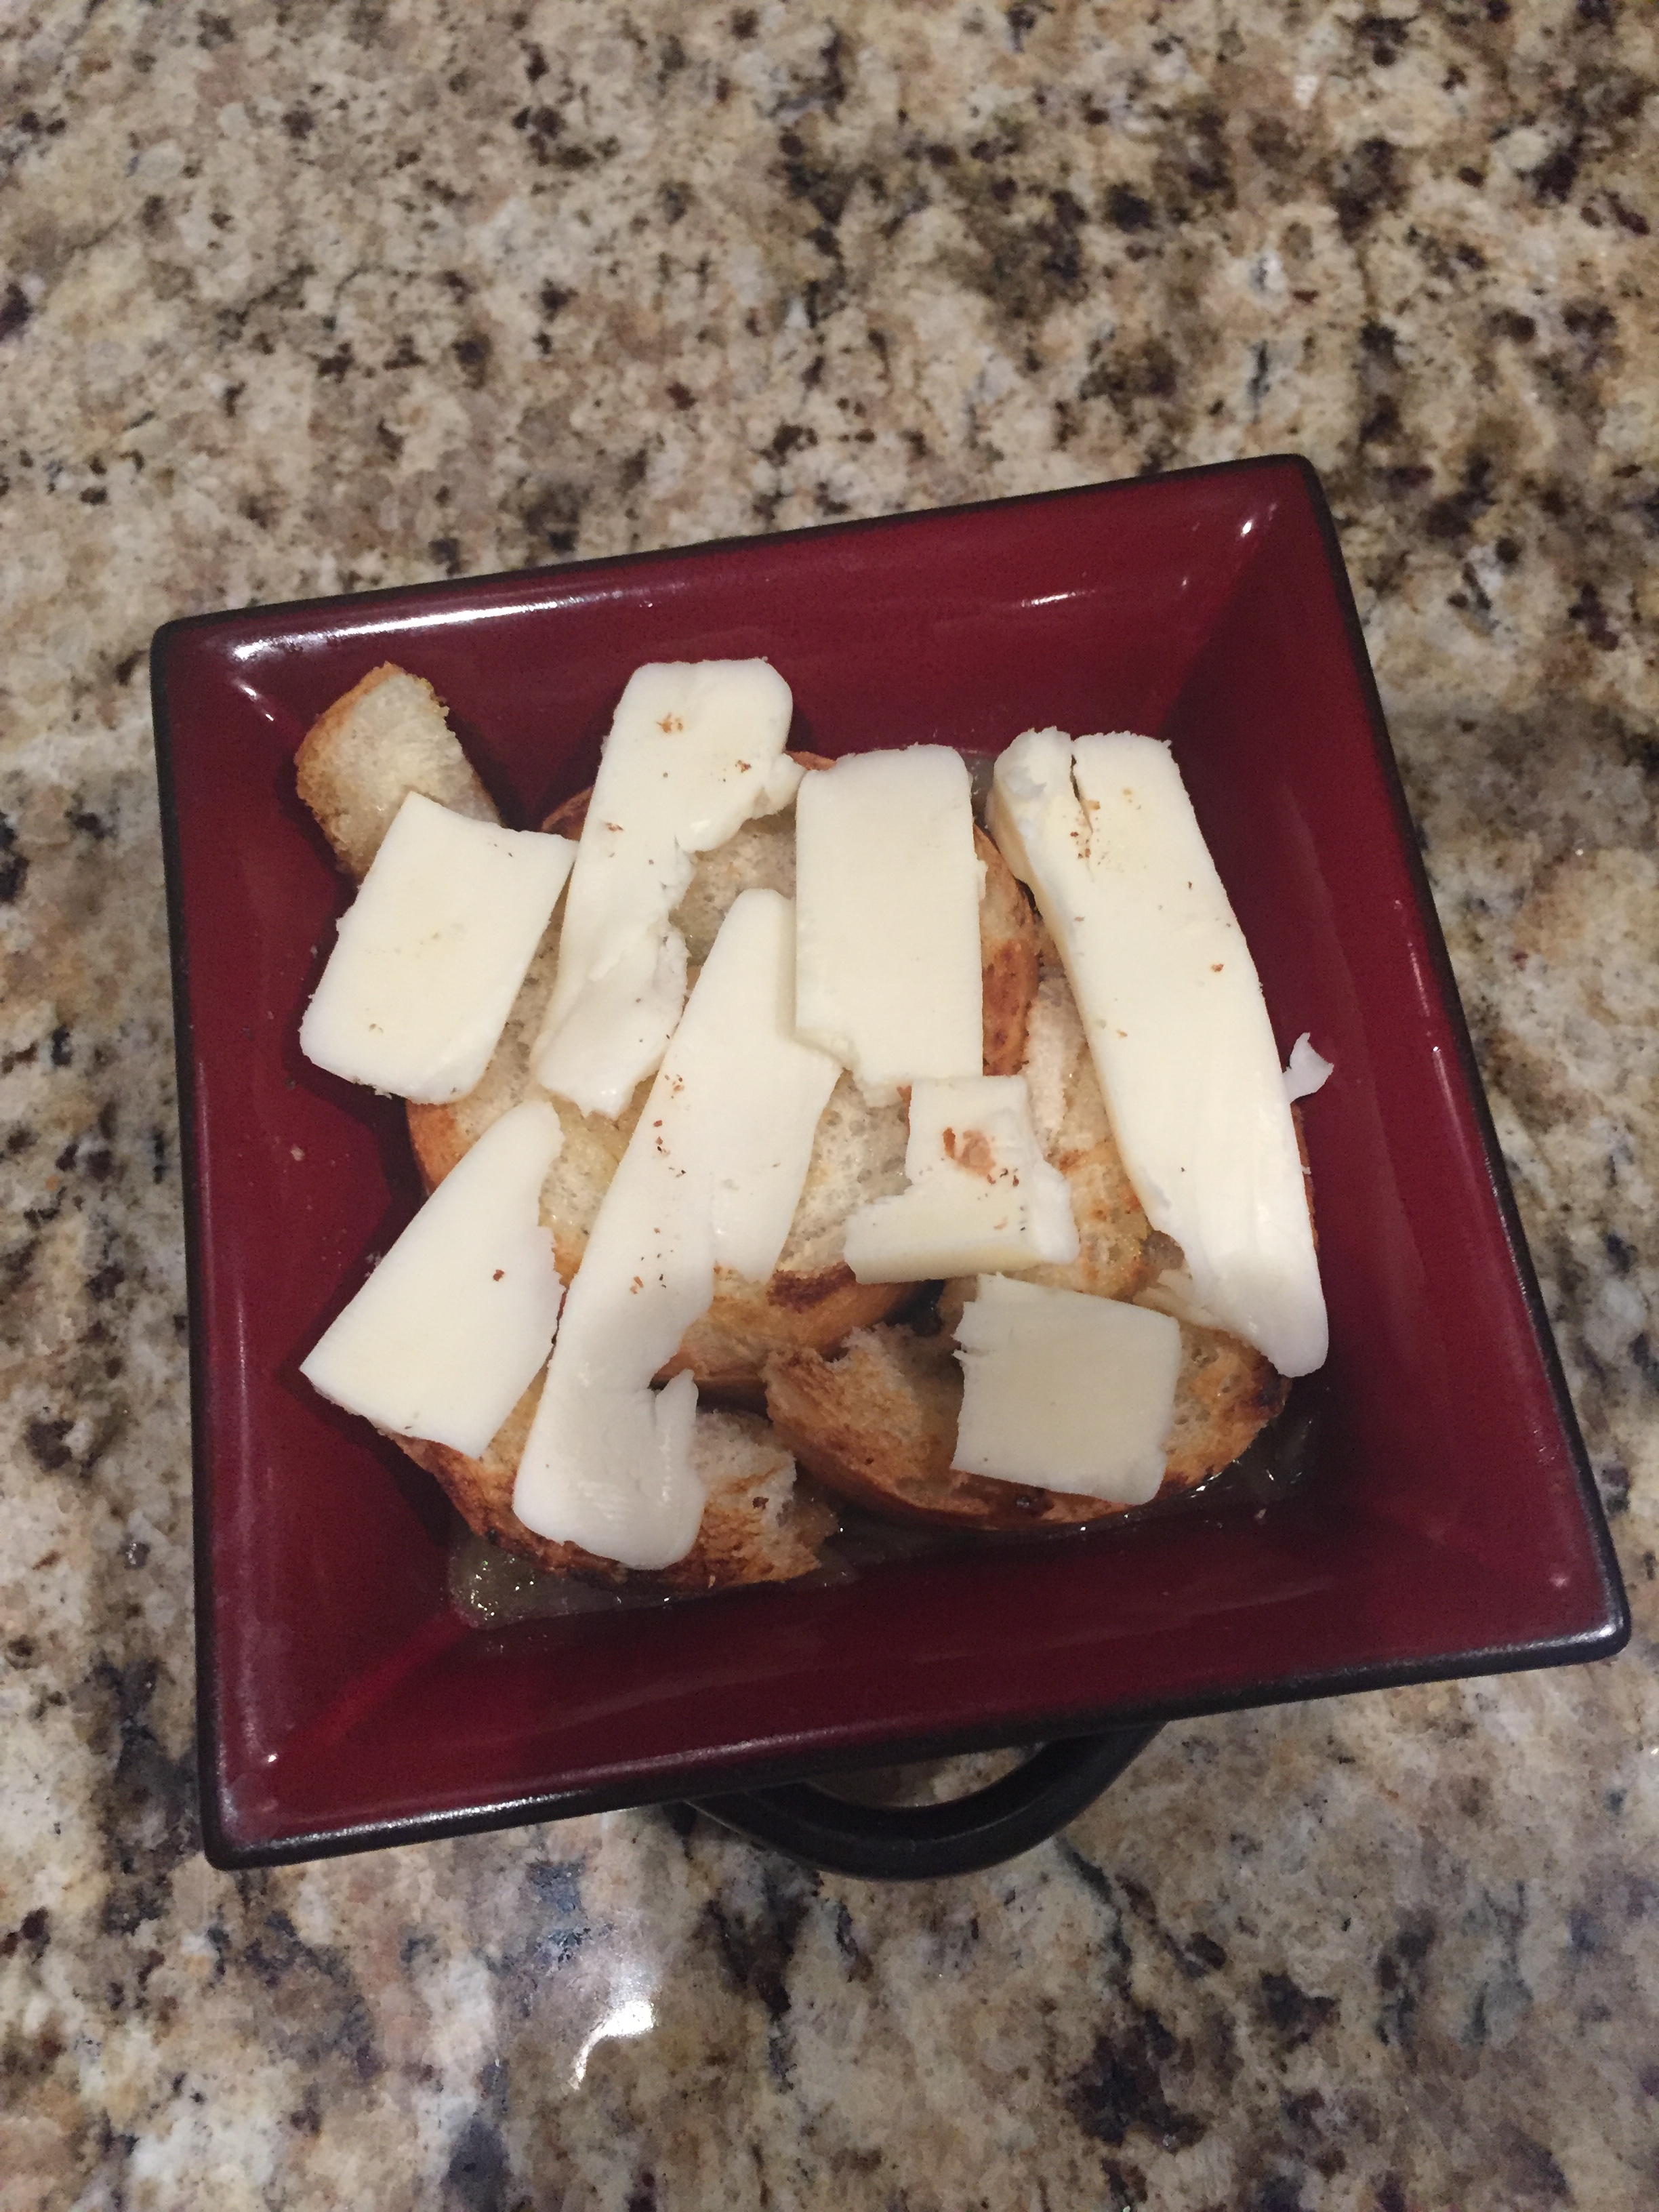
These next steps are when everything comes together and you combine this amazing broth with the other goods. For each serving, I toasted a couple slices of bread from my loaf. Additionally, I cut thin layers of cheese from the fontina cheese block. Then combined everything in my bowl - soup then bread then cheese.
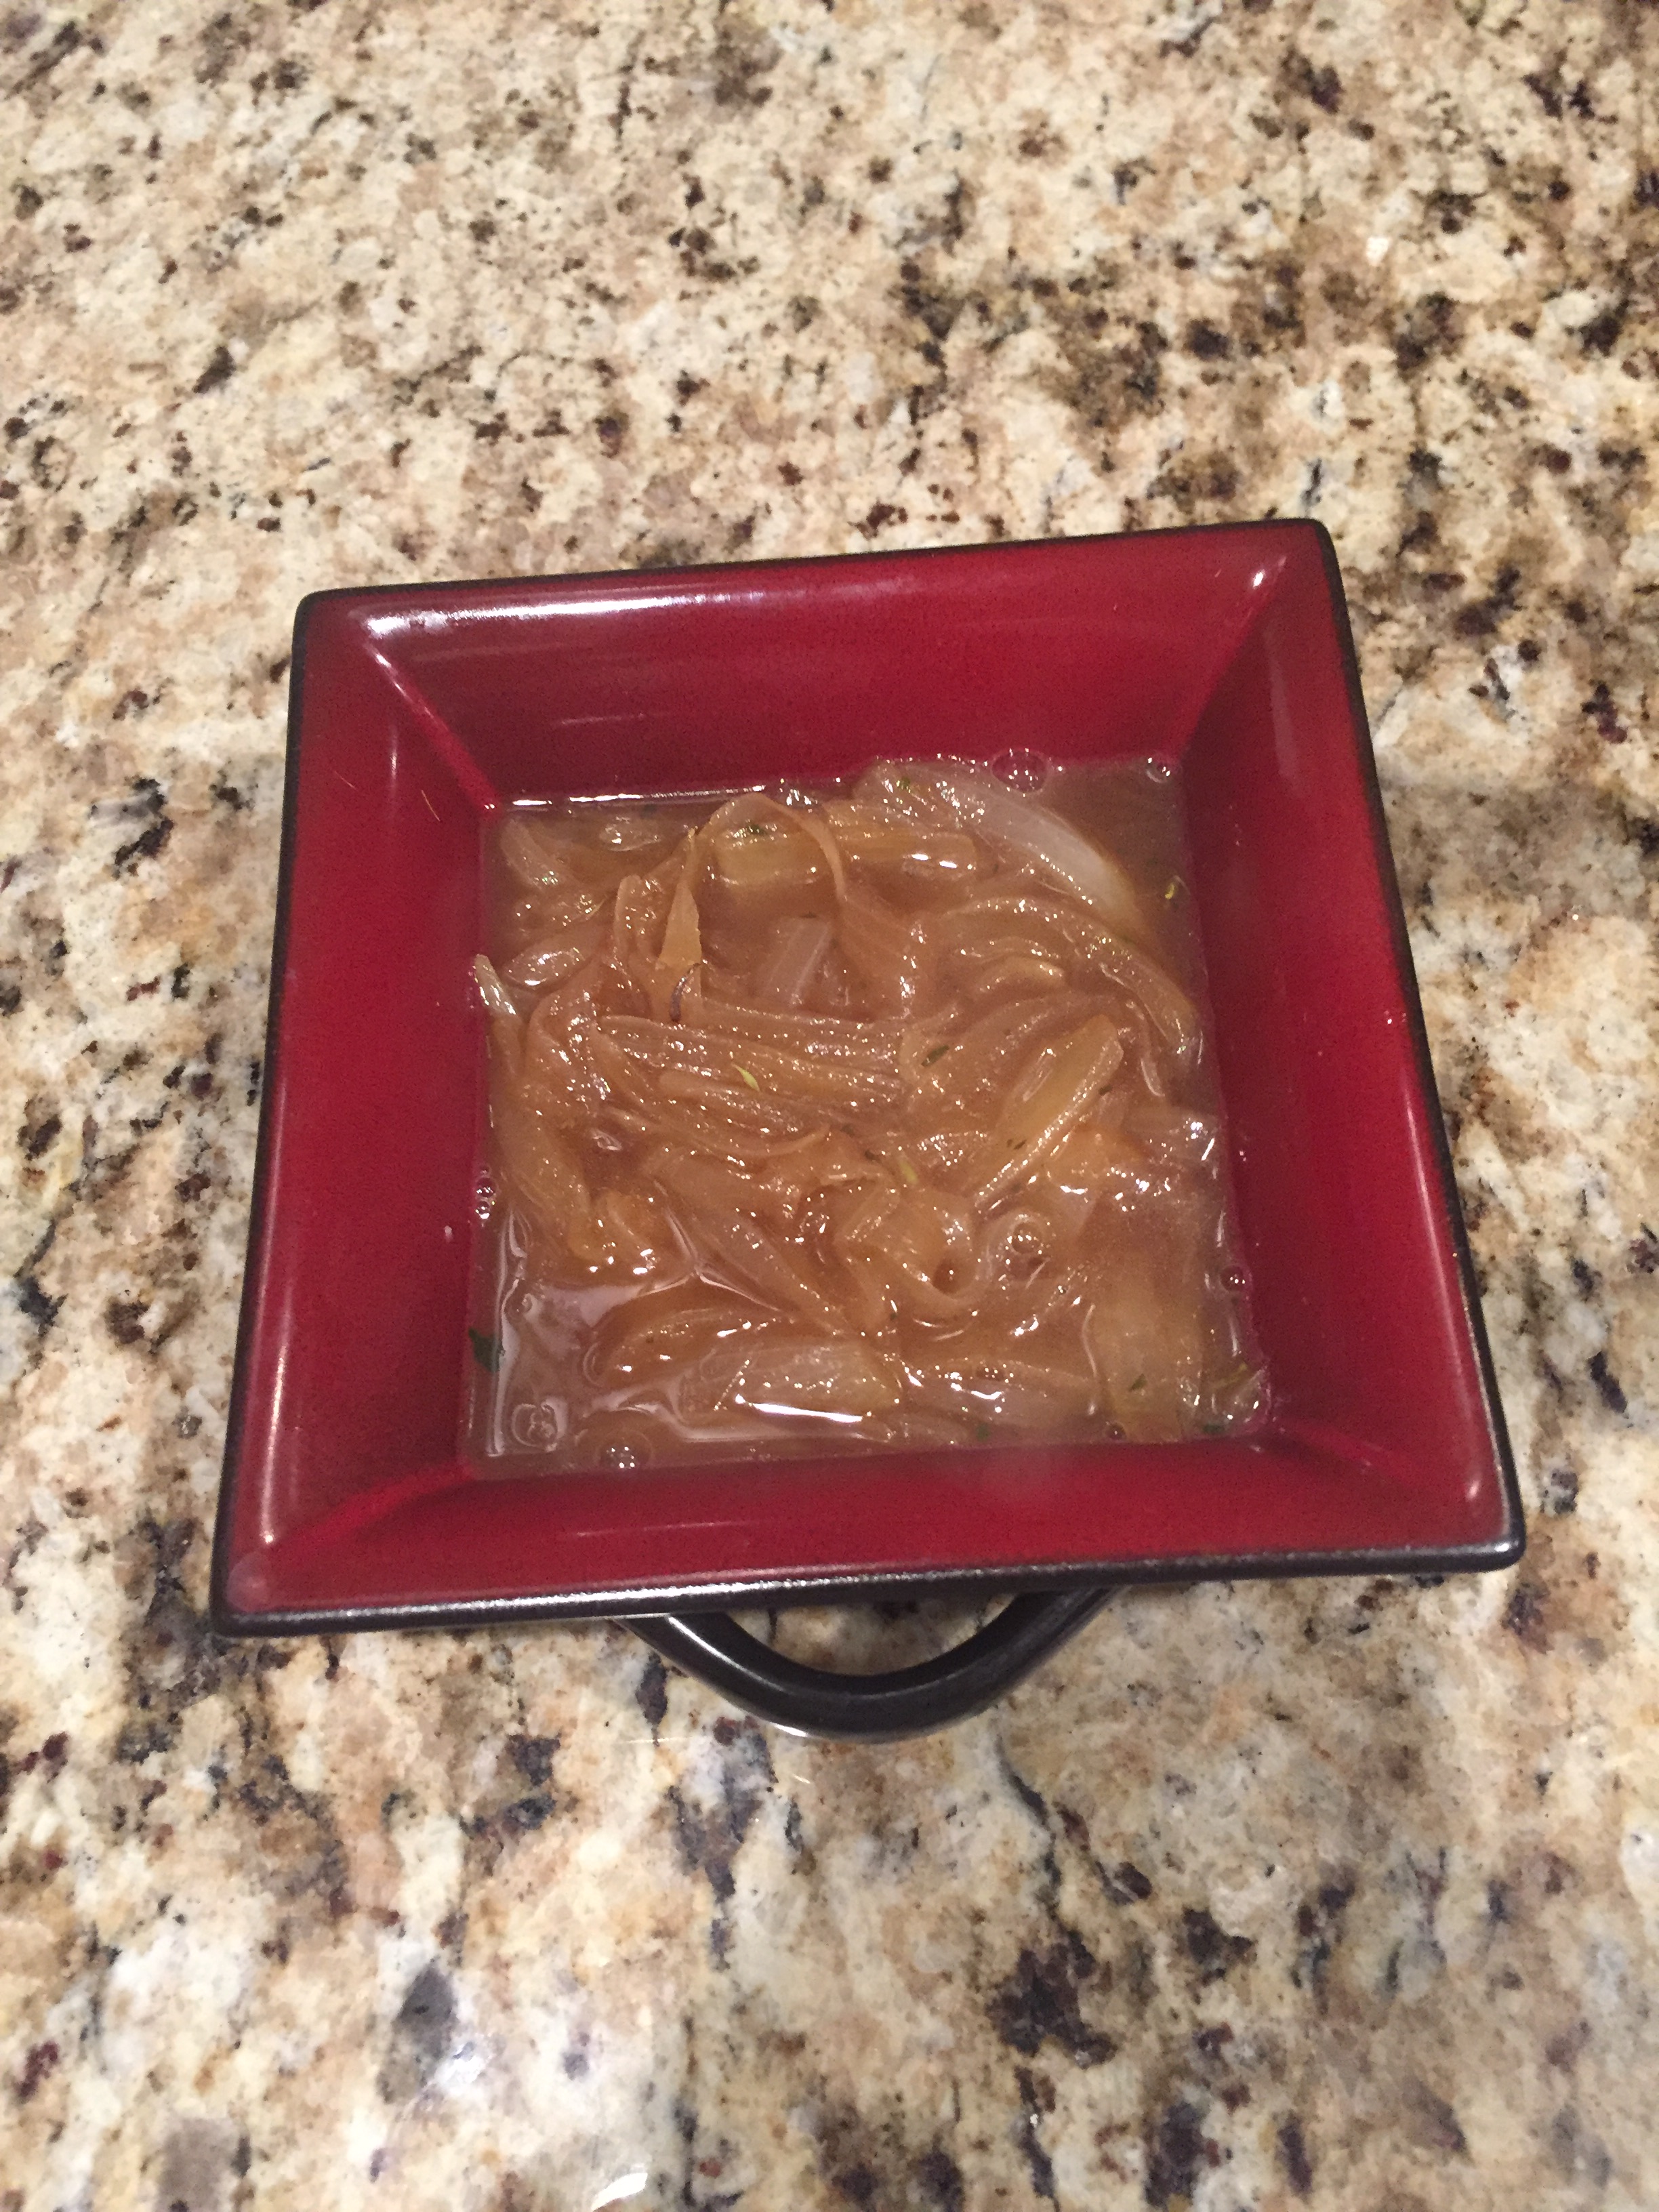
The final step is just heating this all up to a satisfying temperature to taste. The bread is already toasted, and the broth already cooked, so the most important think here is making sure to perfectly melt the cheese on top. Depending on your culinary abilities, you can either put the soup combo in a broiler for a couple minutes or just microwave it for a similar amount of time. And voila!  This was a very photogenic soup, if I do say so myself. And trust me, it did taste as good as it looks!
1 Comment
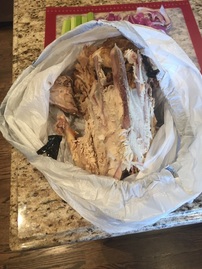
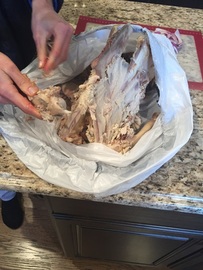
Ahhhh, Thanksgiving, my favorite holiday of the year. We host Thanksgiving at my house each year which means the turkey is all done in house. This also means we get first dibs on the remainders of the turkey post-dinner. Well everyone else was fighting over their desired dark or white meat leftovers, I was just itching to grab those remaining bones to make my very own homemade turkey broth. I didn't really know what I was doing here but thought it could not be that hard, and I was correct. Making your own broth from scratch is super easy and delicious. Once you have the broth, the soup possibilities are endless! Here's what ingredients I used (feel free to make any tweeks to your likings):
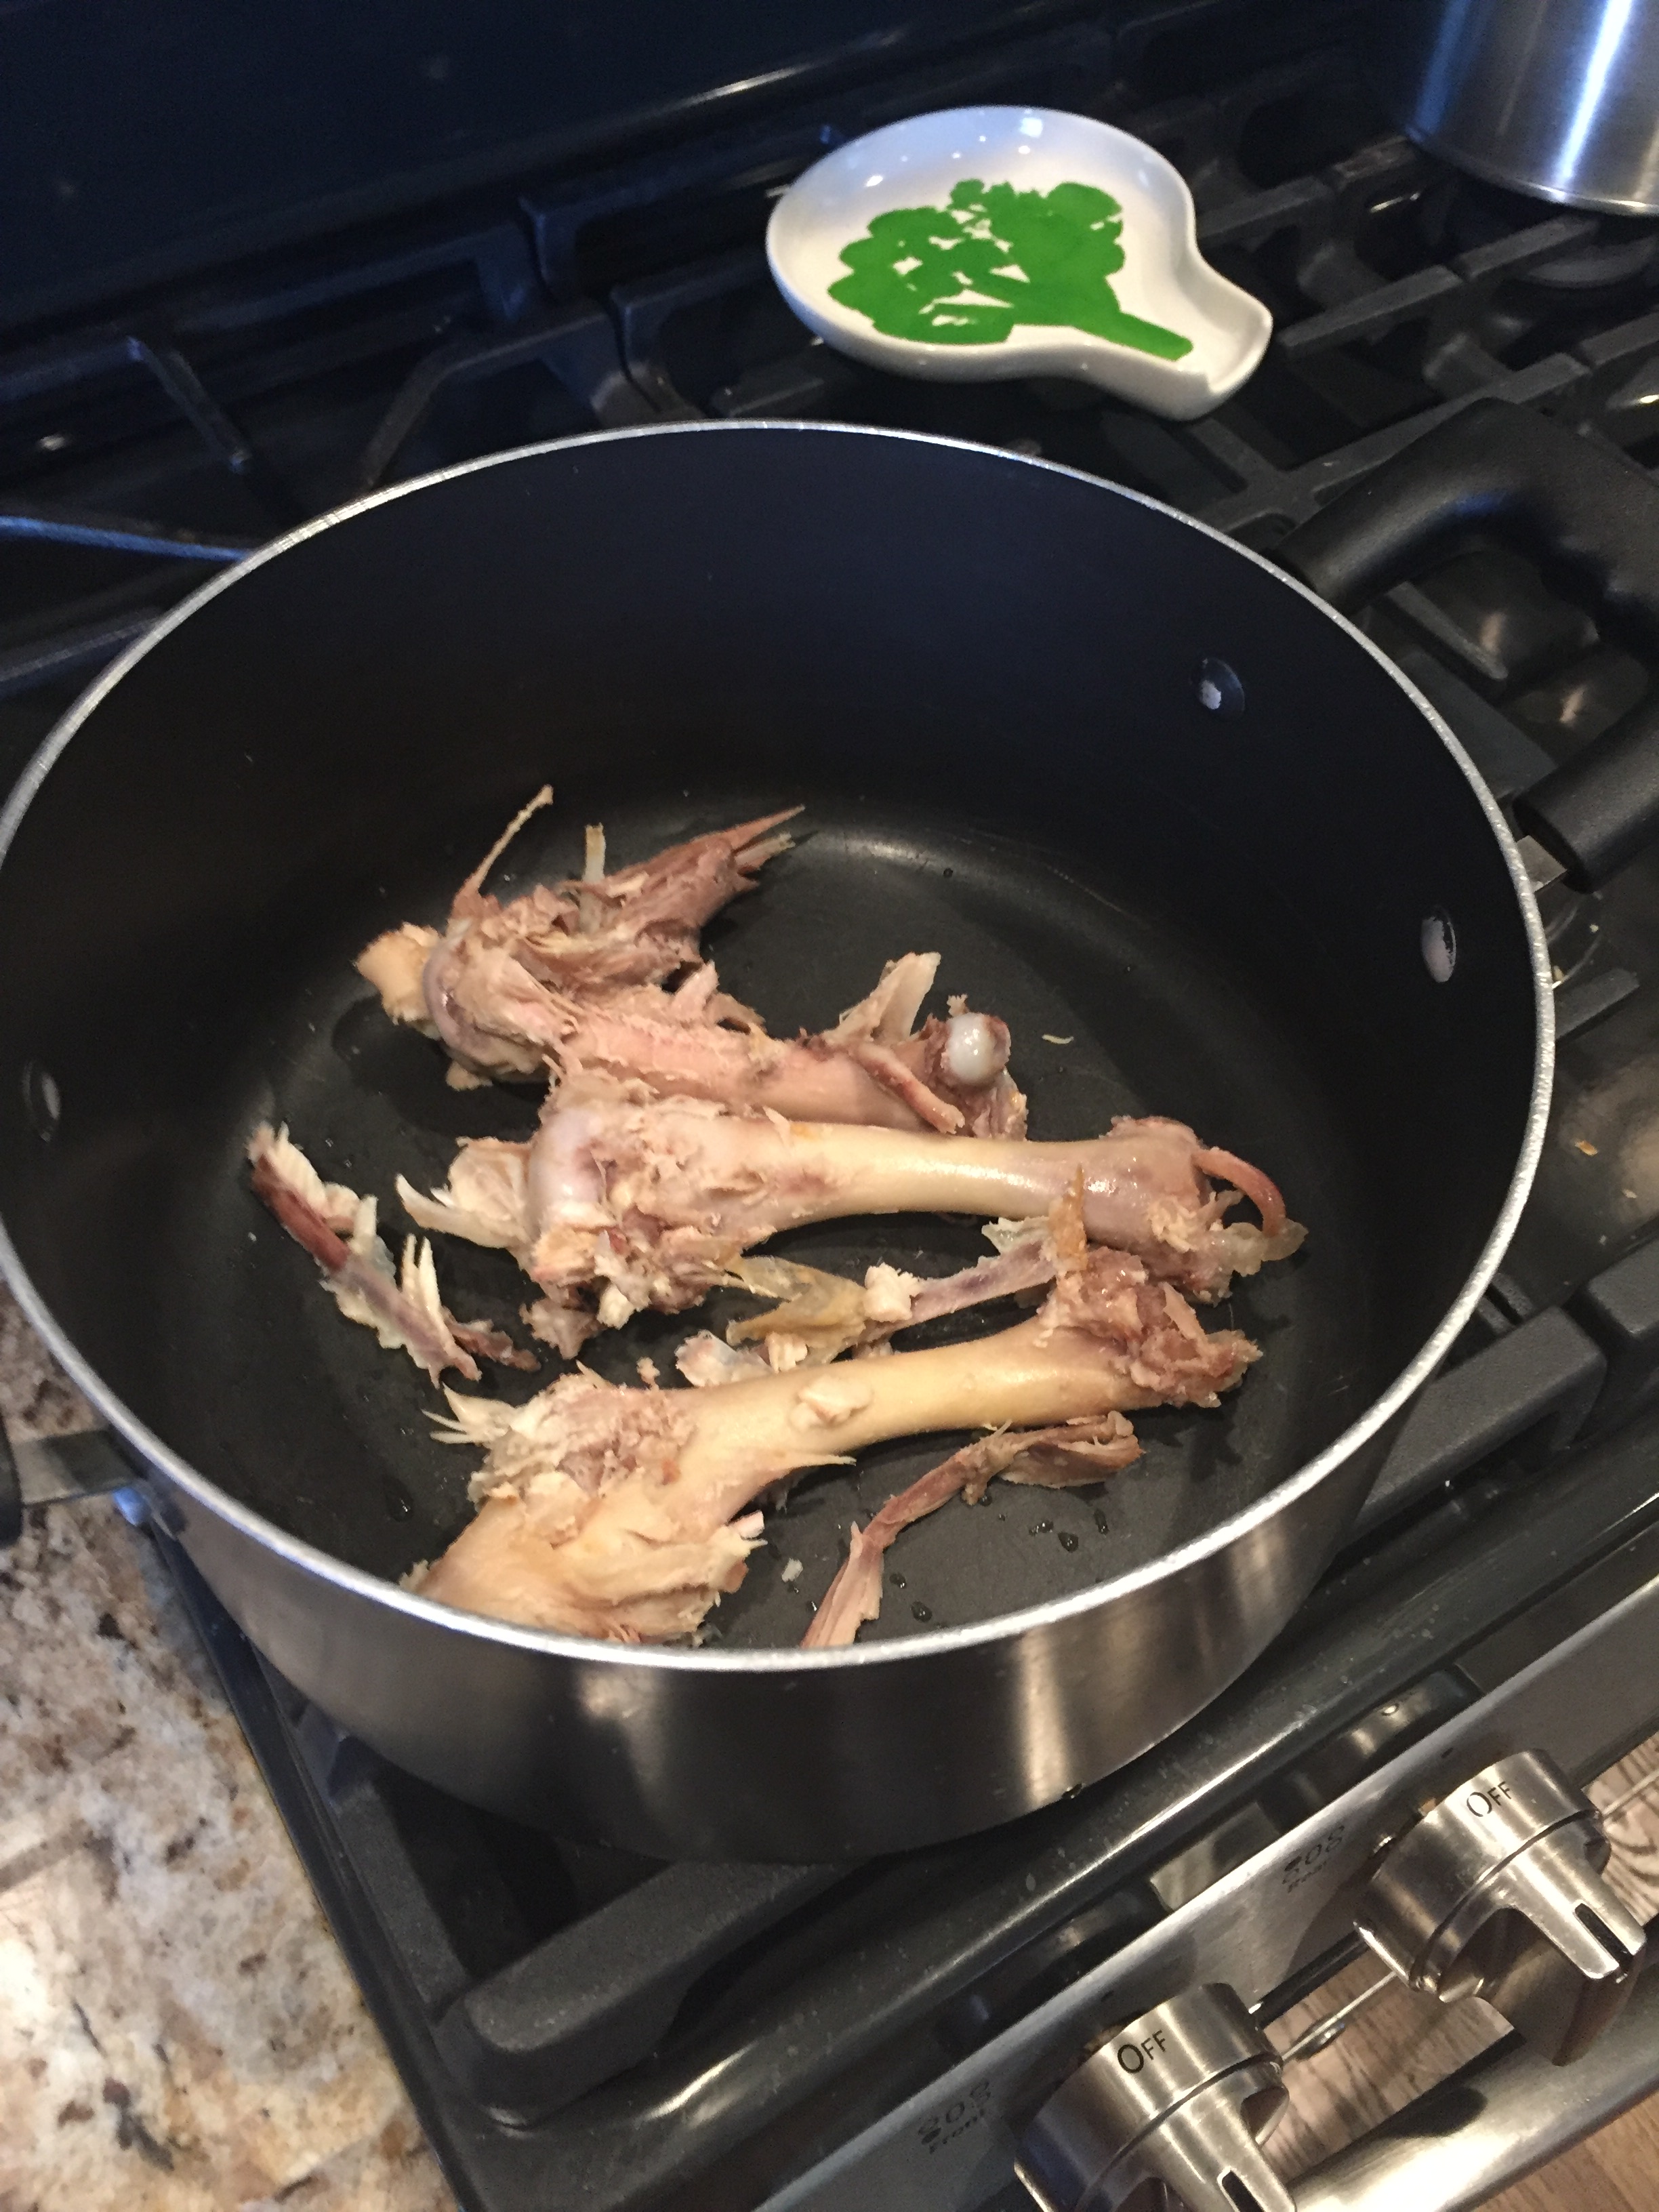
I was sort of turkey (if you don't get it, I am using 'turkey' in place of the word 'chicken' in this phrase) to do the first step, so luckily my sister had no fear and stepped in for me. You are going to have to pull the different bones off the turkey.. I know it's kind of disturbing and takes some real muscle power. While she was doing this, I chopped up all the veggies.
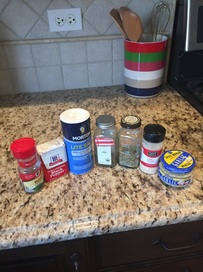
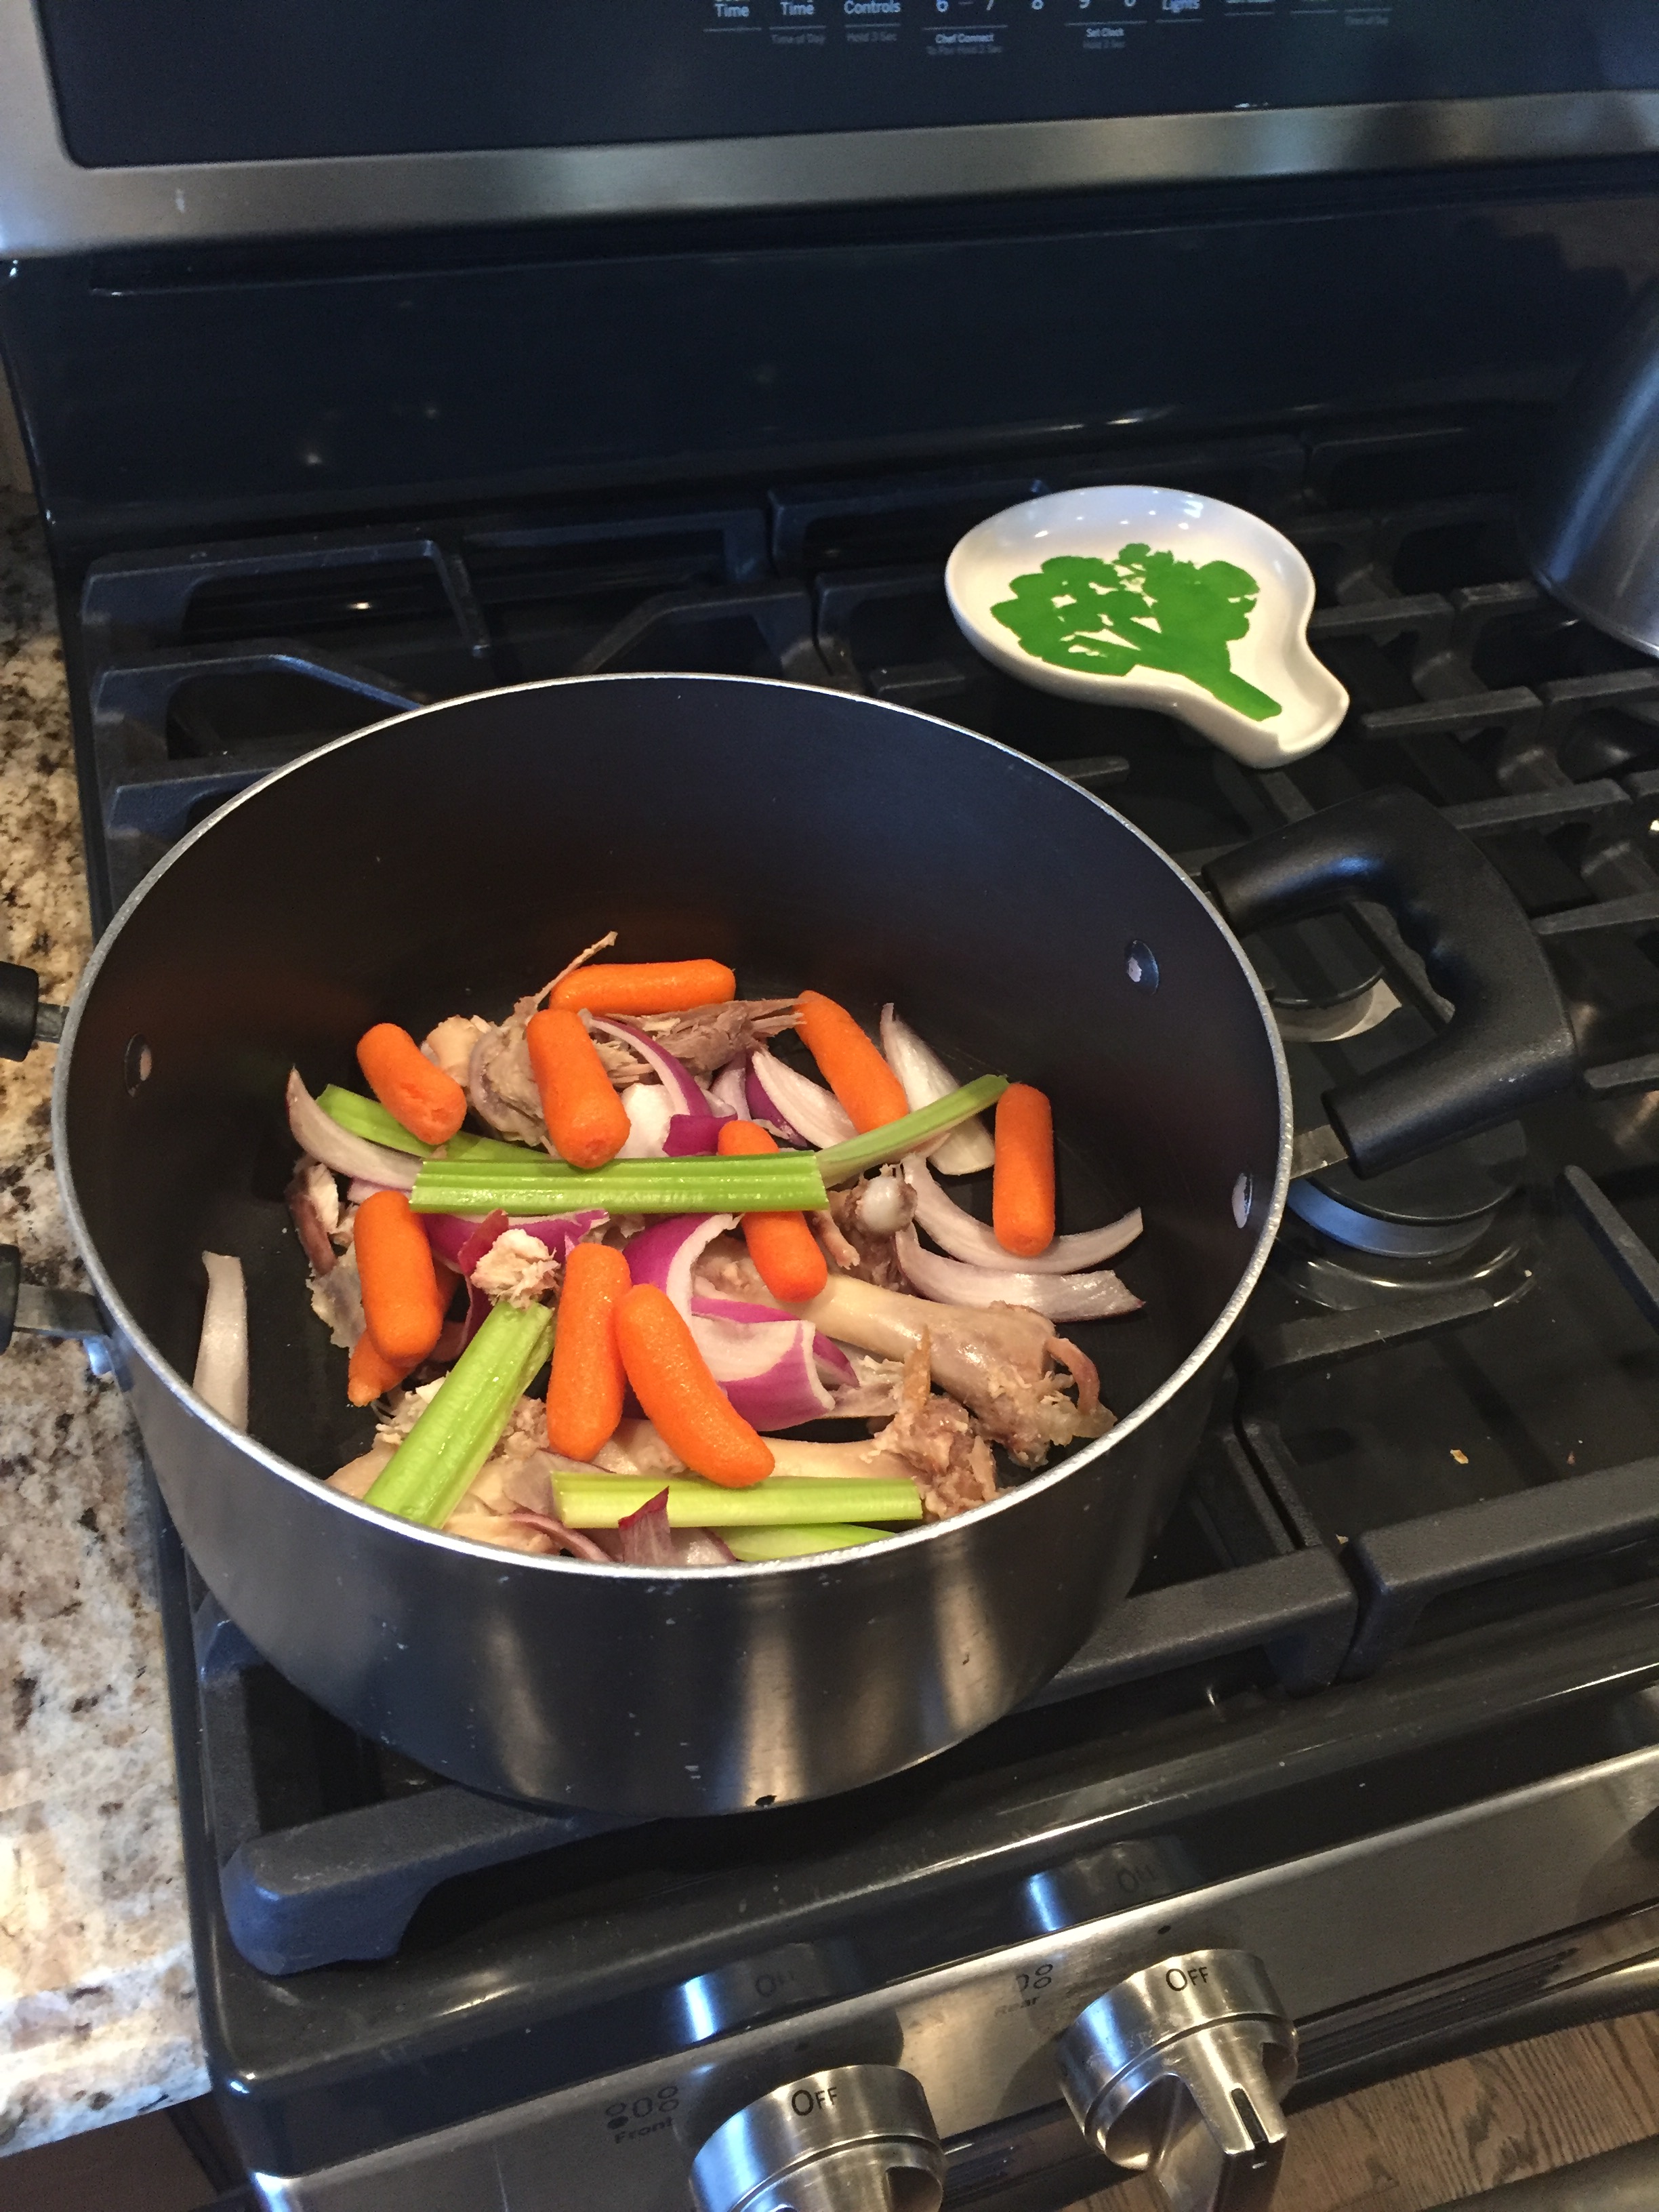
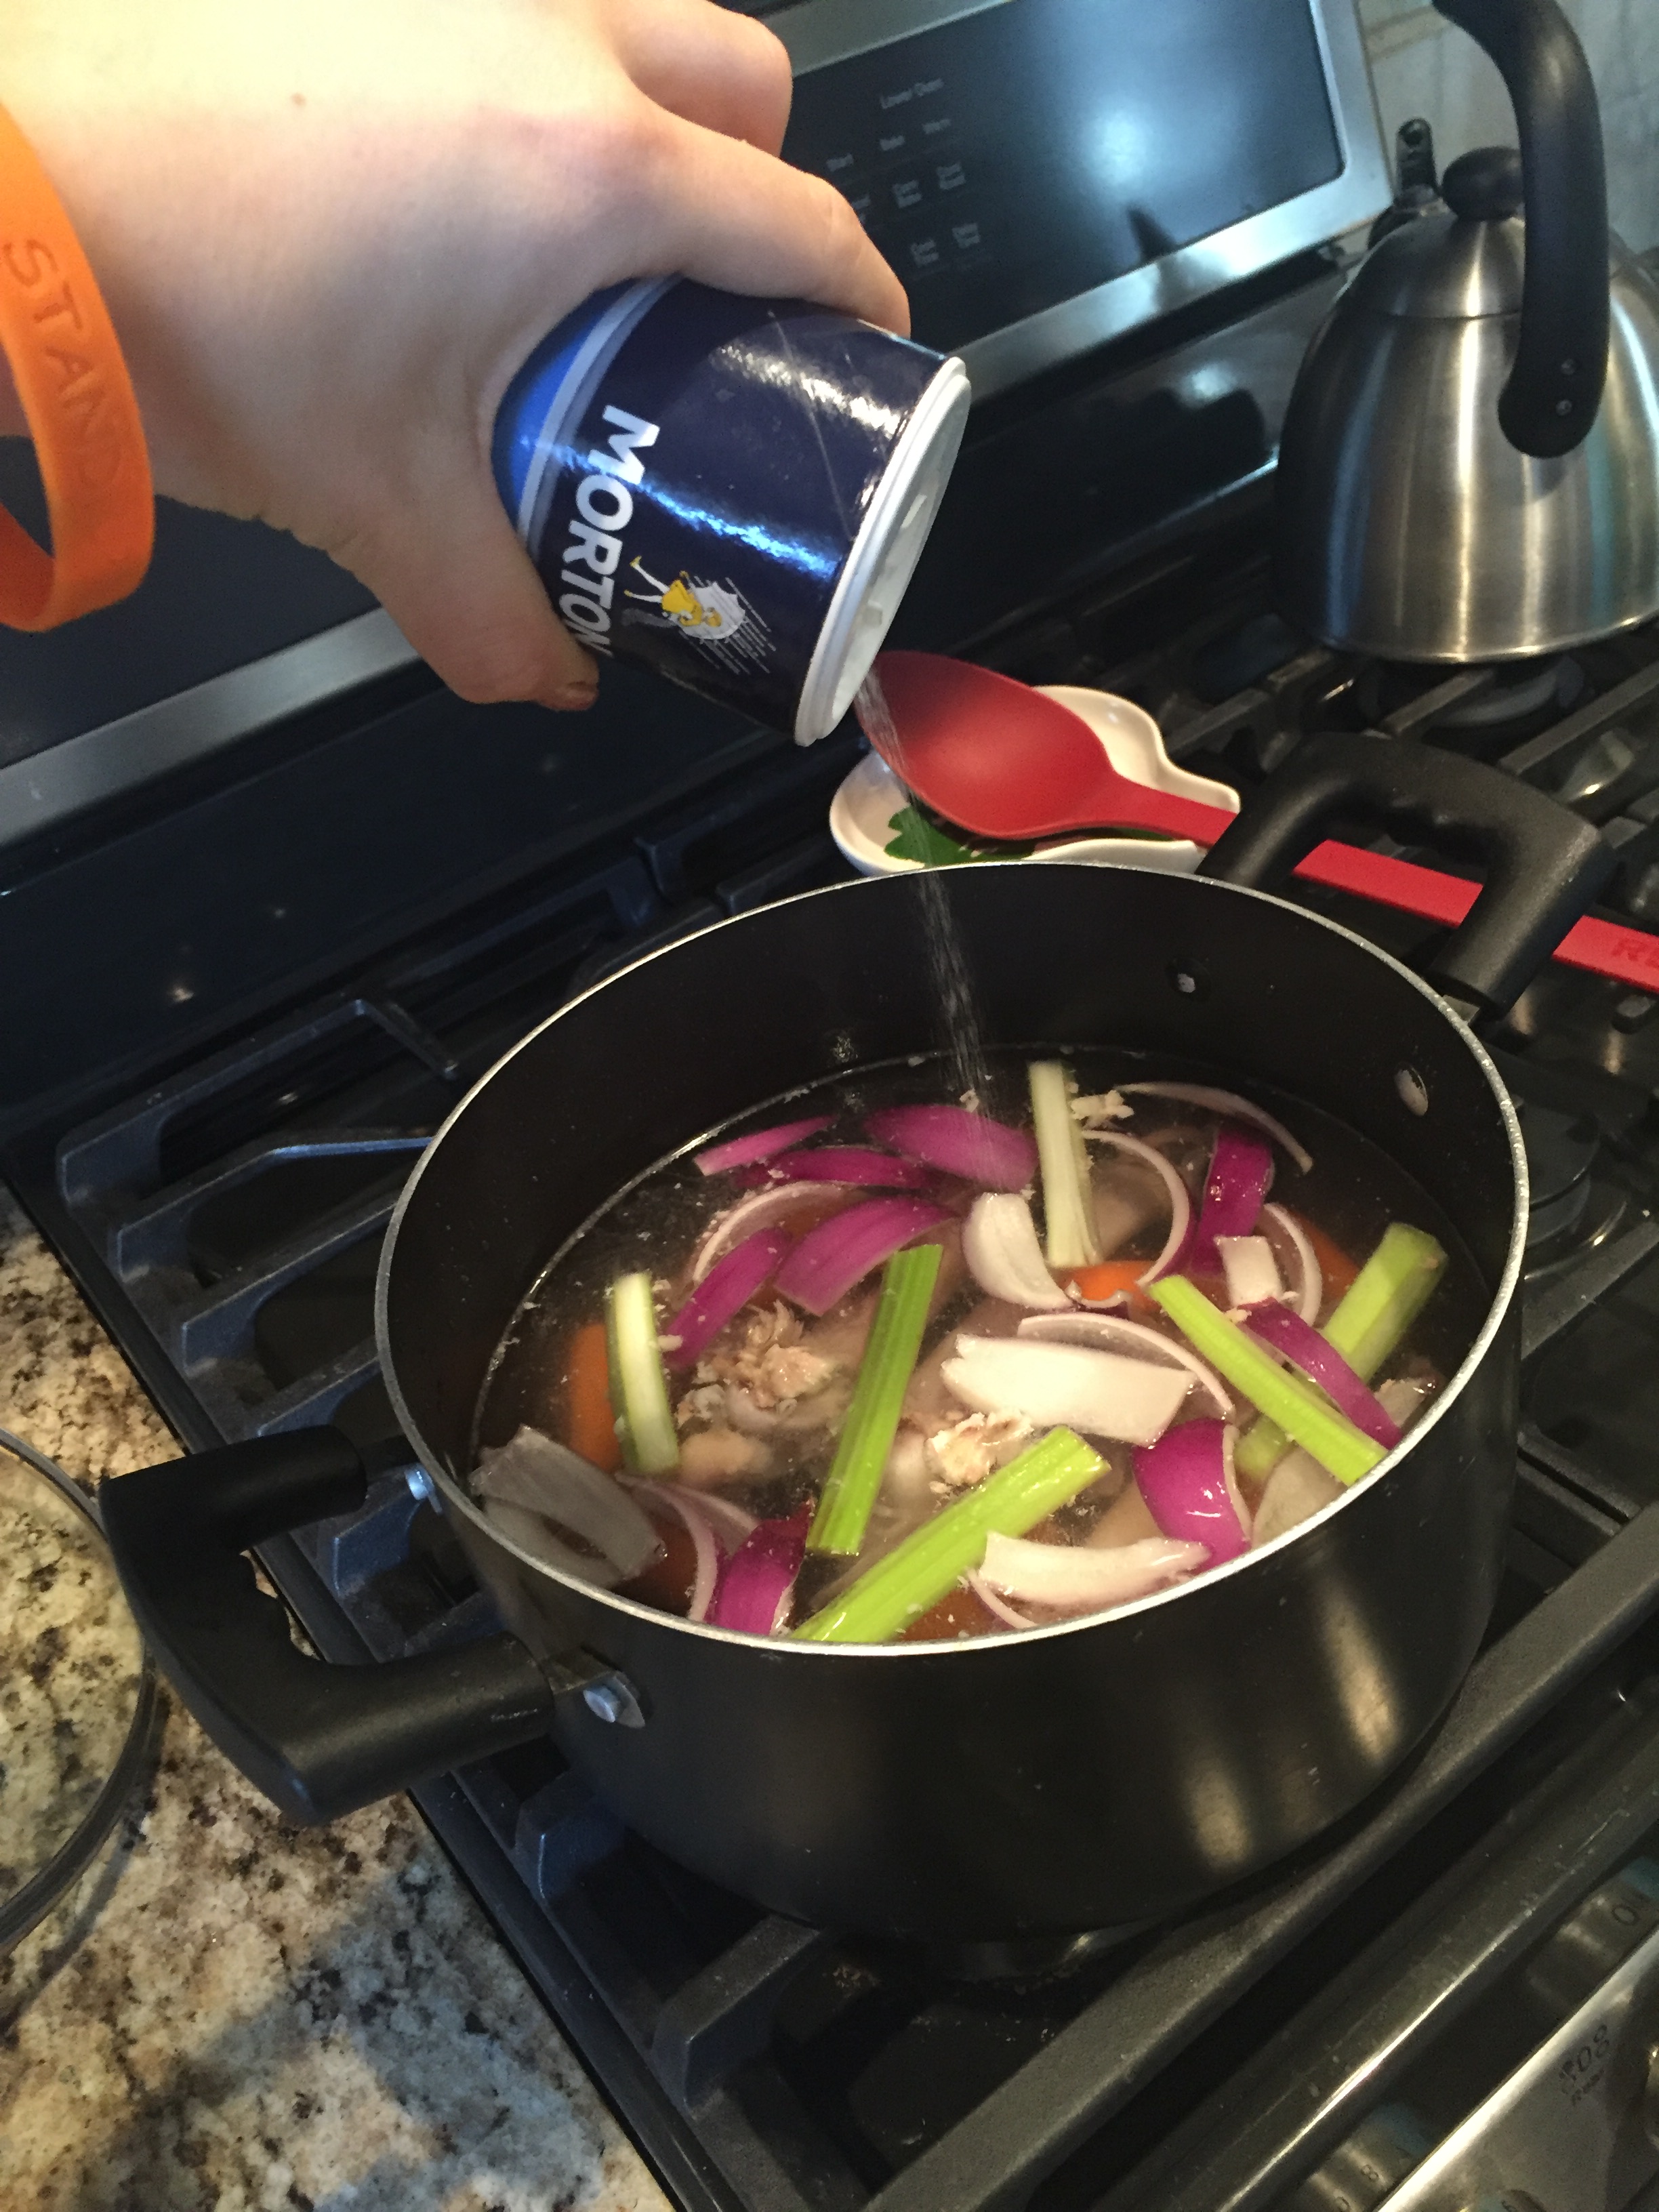
After this there is basically no more work. I added all of the bones, veggies, and seasonings into a pot with water filled almost to the top.
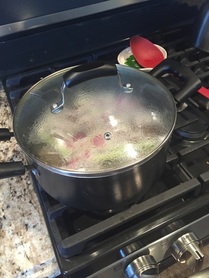
The longer you let it cook, the more flavorful the broth will become. Patience young Yoda. But seriously, I brought the mixture to a boil then covered it and let it simmer for about 4 hours.
After your long wait, it is time for a little more effort before the broth is ready. You will have to pour the mixture through a strainer in order to rid of the bones, veggies, and any excess unwanted parts of the broth. Then transfer back to the pot and you have a beautiful broth that can either be eaten as so or combined with more steps to make an even more elaborate soup. I opted to eat mine as so. 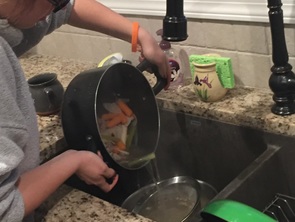 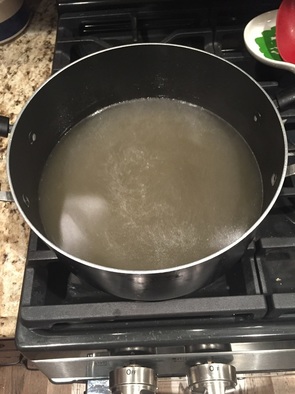 Oh man do I wish you could have been there to get a whiff of the delicious smell of my finished turkey broth
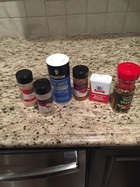
I went home from school for a weekend and greatly took advantage of my mom's brand new kitchen to cook this Portuguese Kale soup. Things went a lot more smoothly than cooking in the tiny, slightly dirty kitchen of my college apartment. OK now on to what you'll need for this one (another luxury of being home was my mom's spice cabinet, extending much larger than that of my own at college... adjust your own ingredients accordingly):
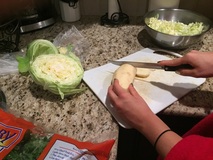
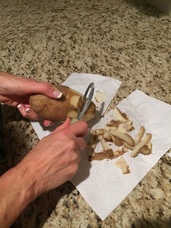
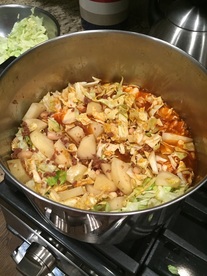
 Now that you have all of your ingredients (at least I hope you do) it's time to get cooking! The first thing I did was some prep. I chopped up the cabbage, peeled the potatoes, and chopped those up as well.
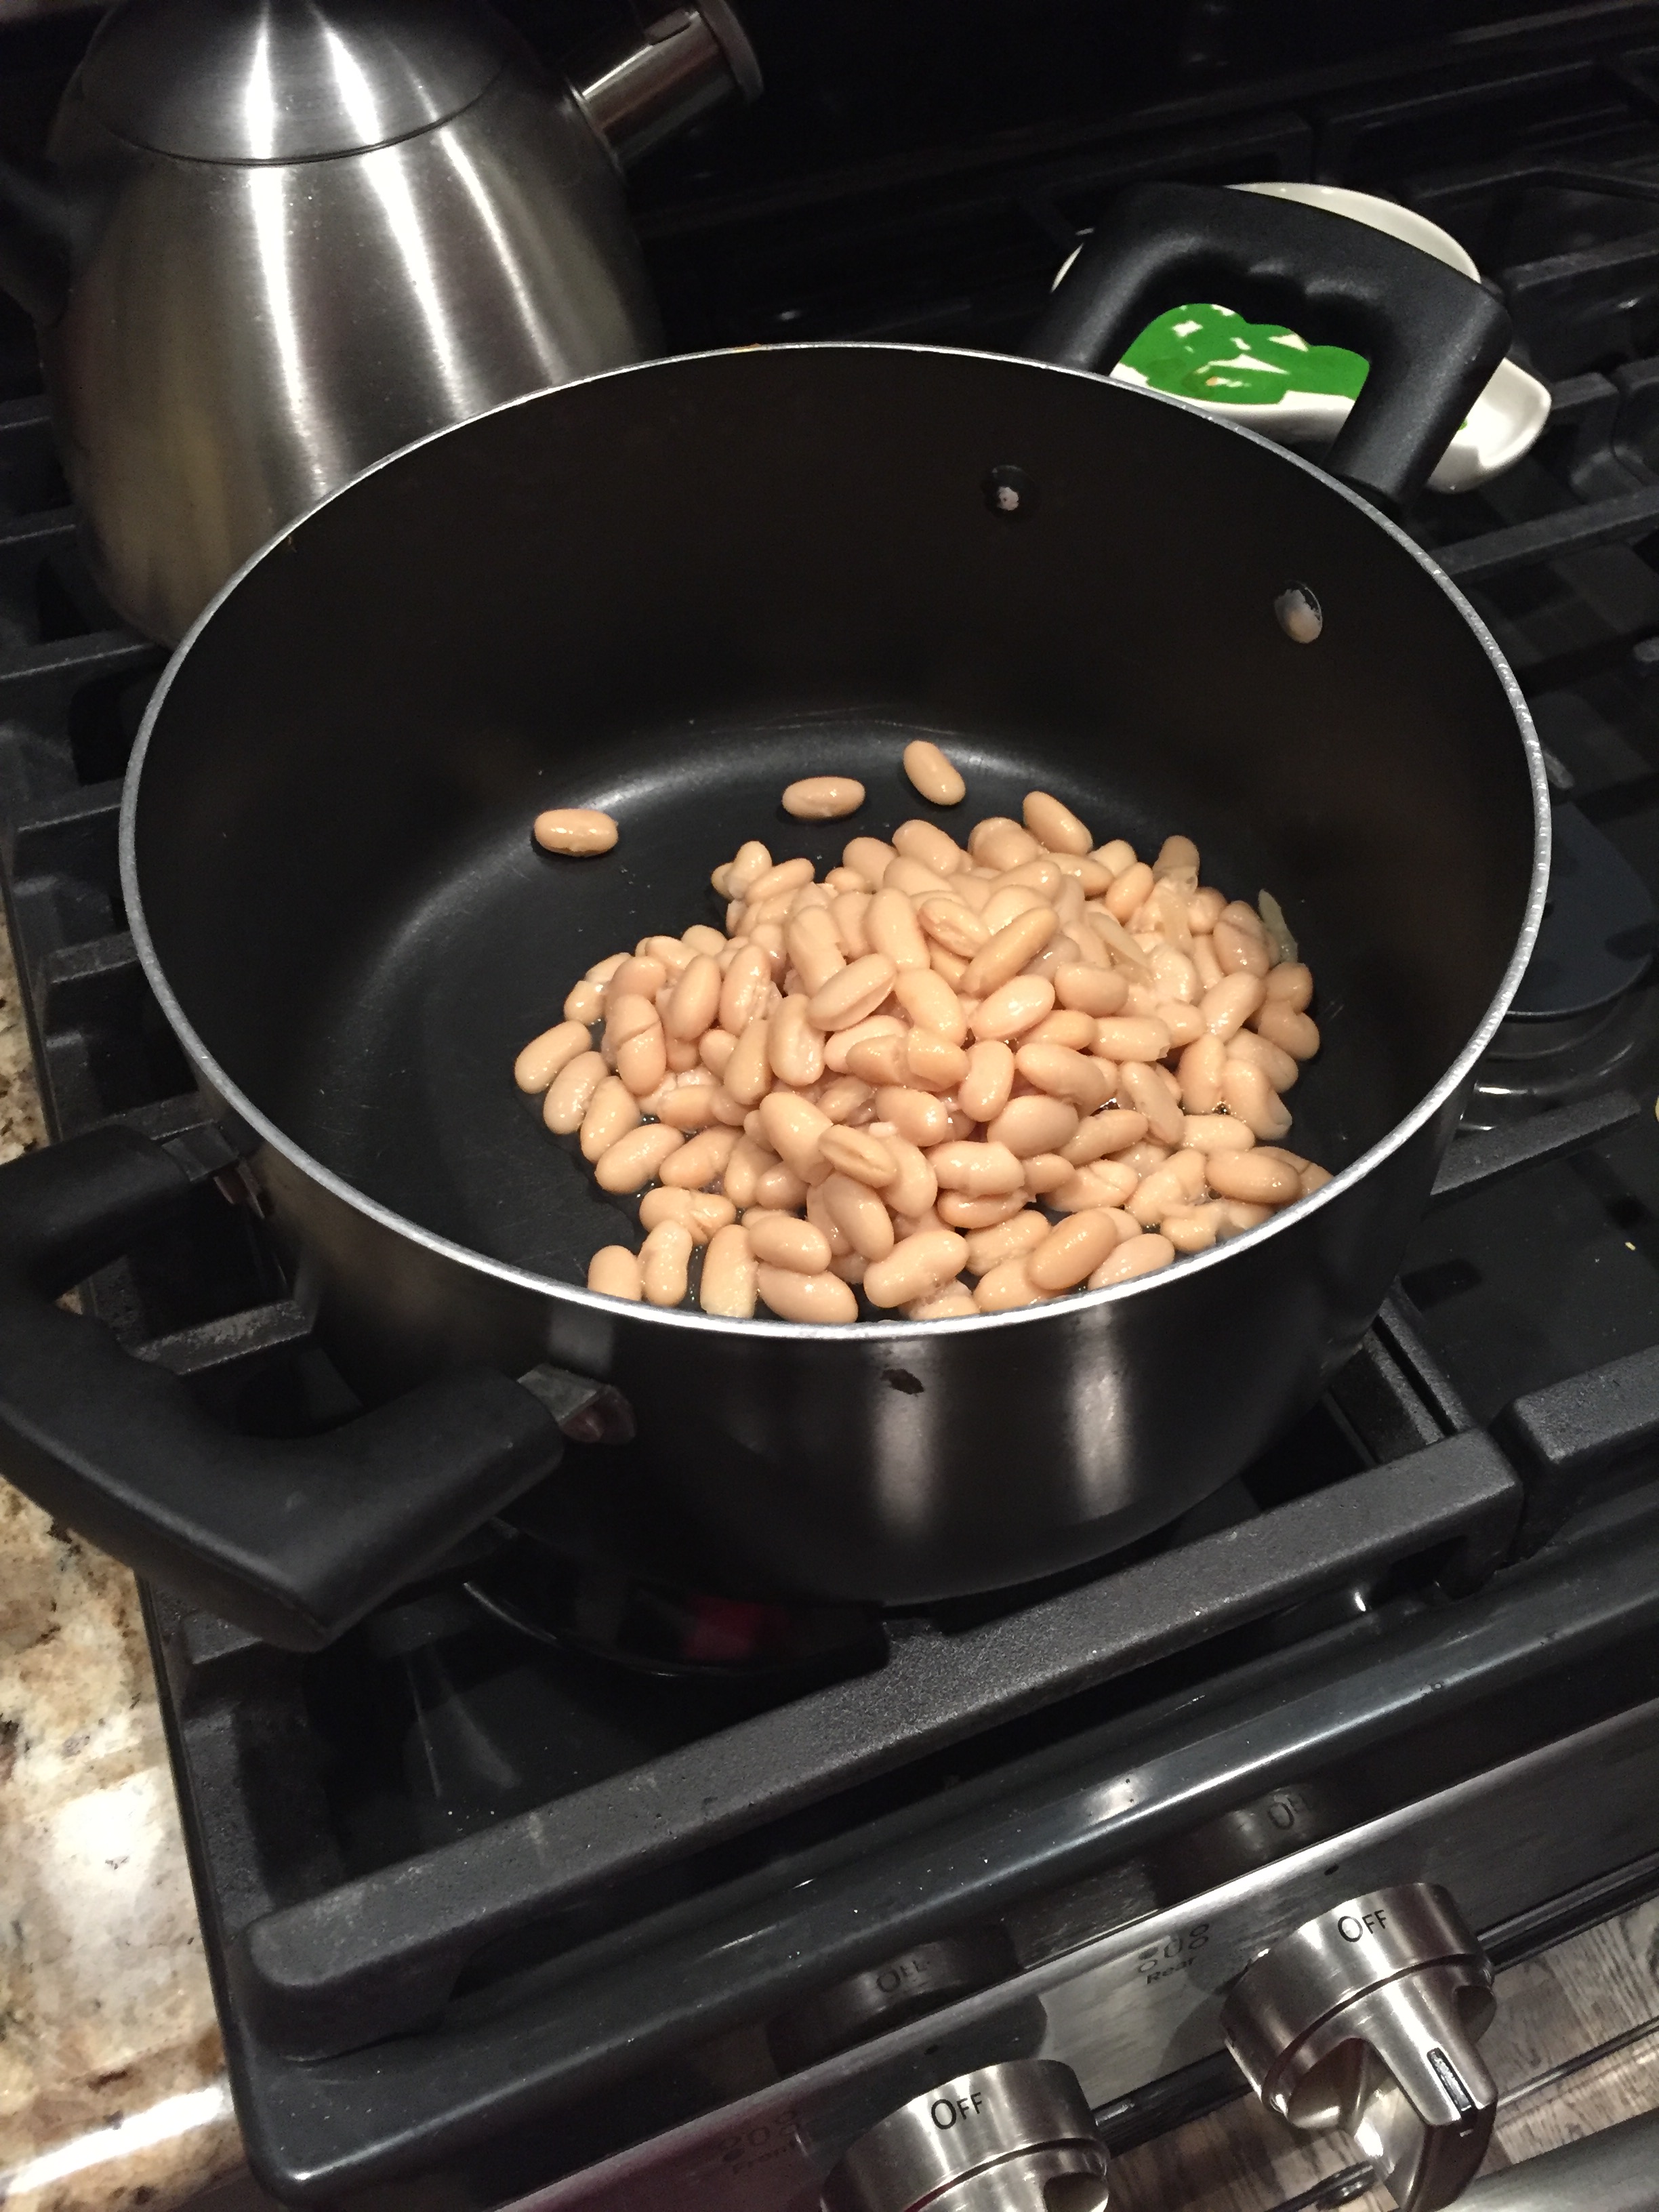
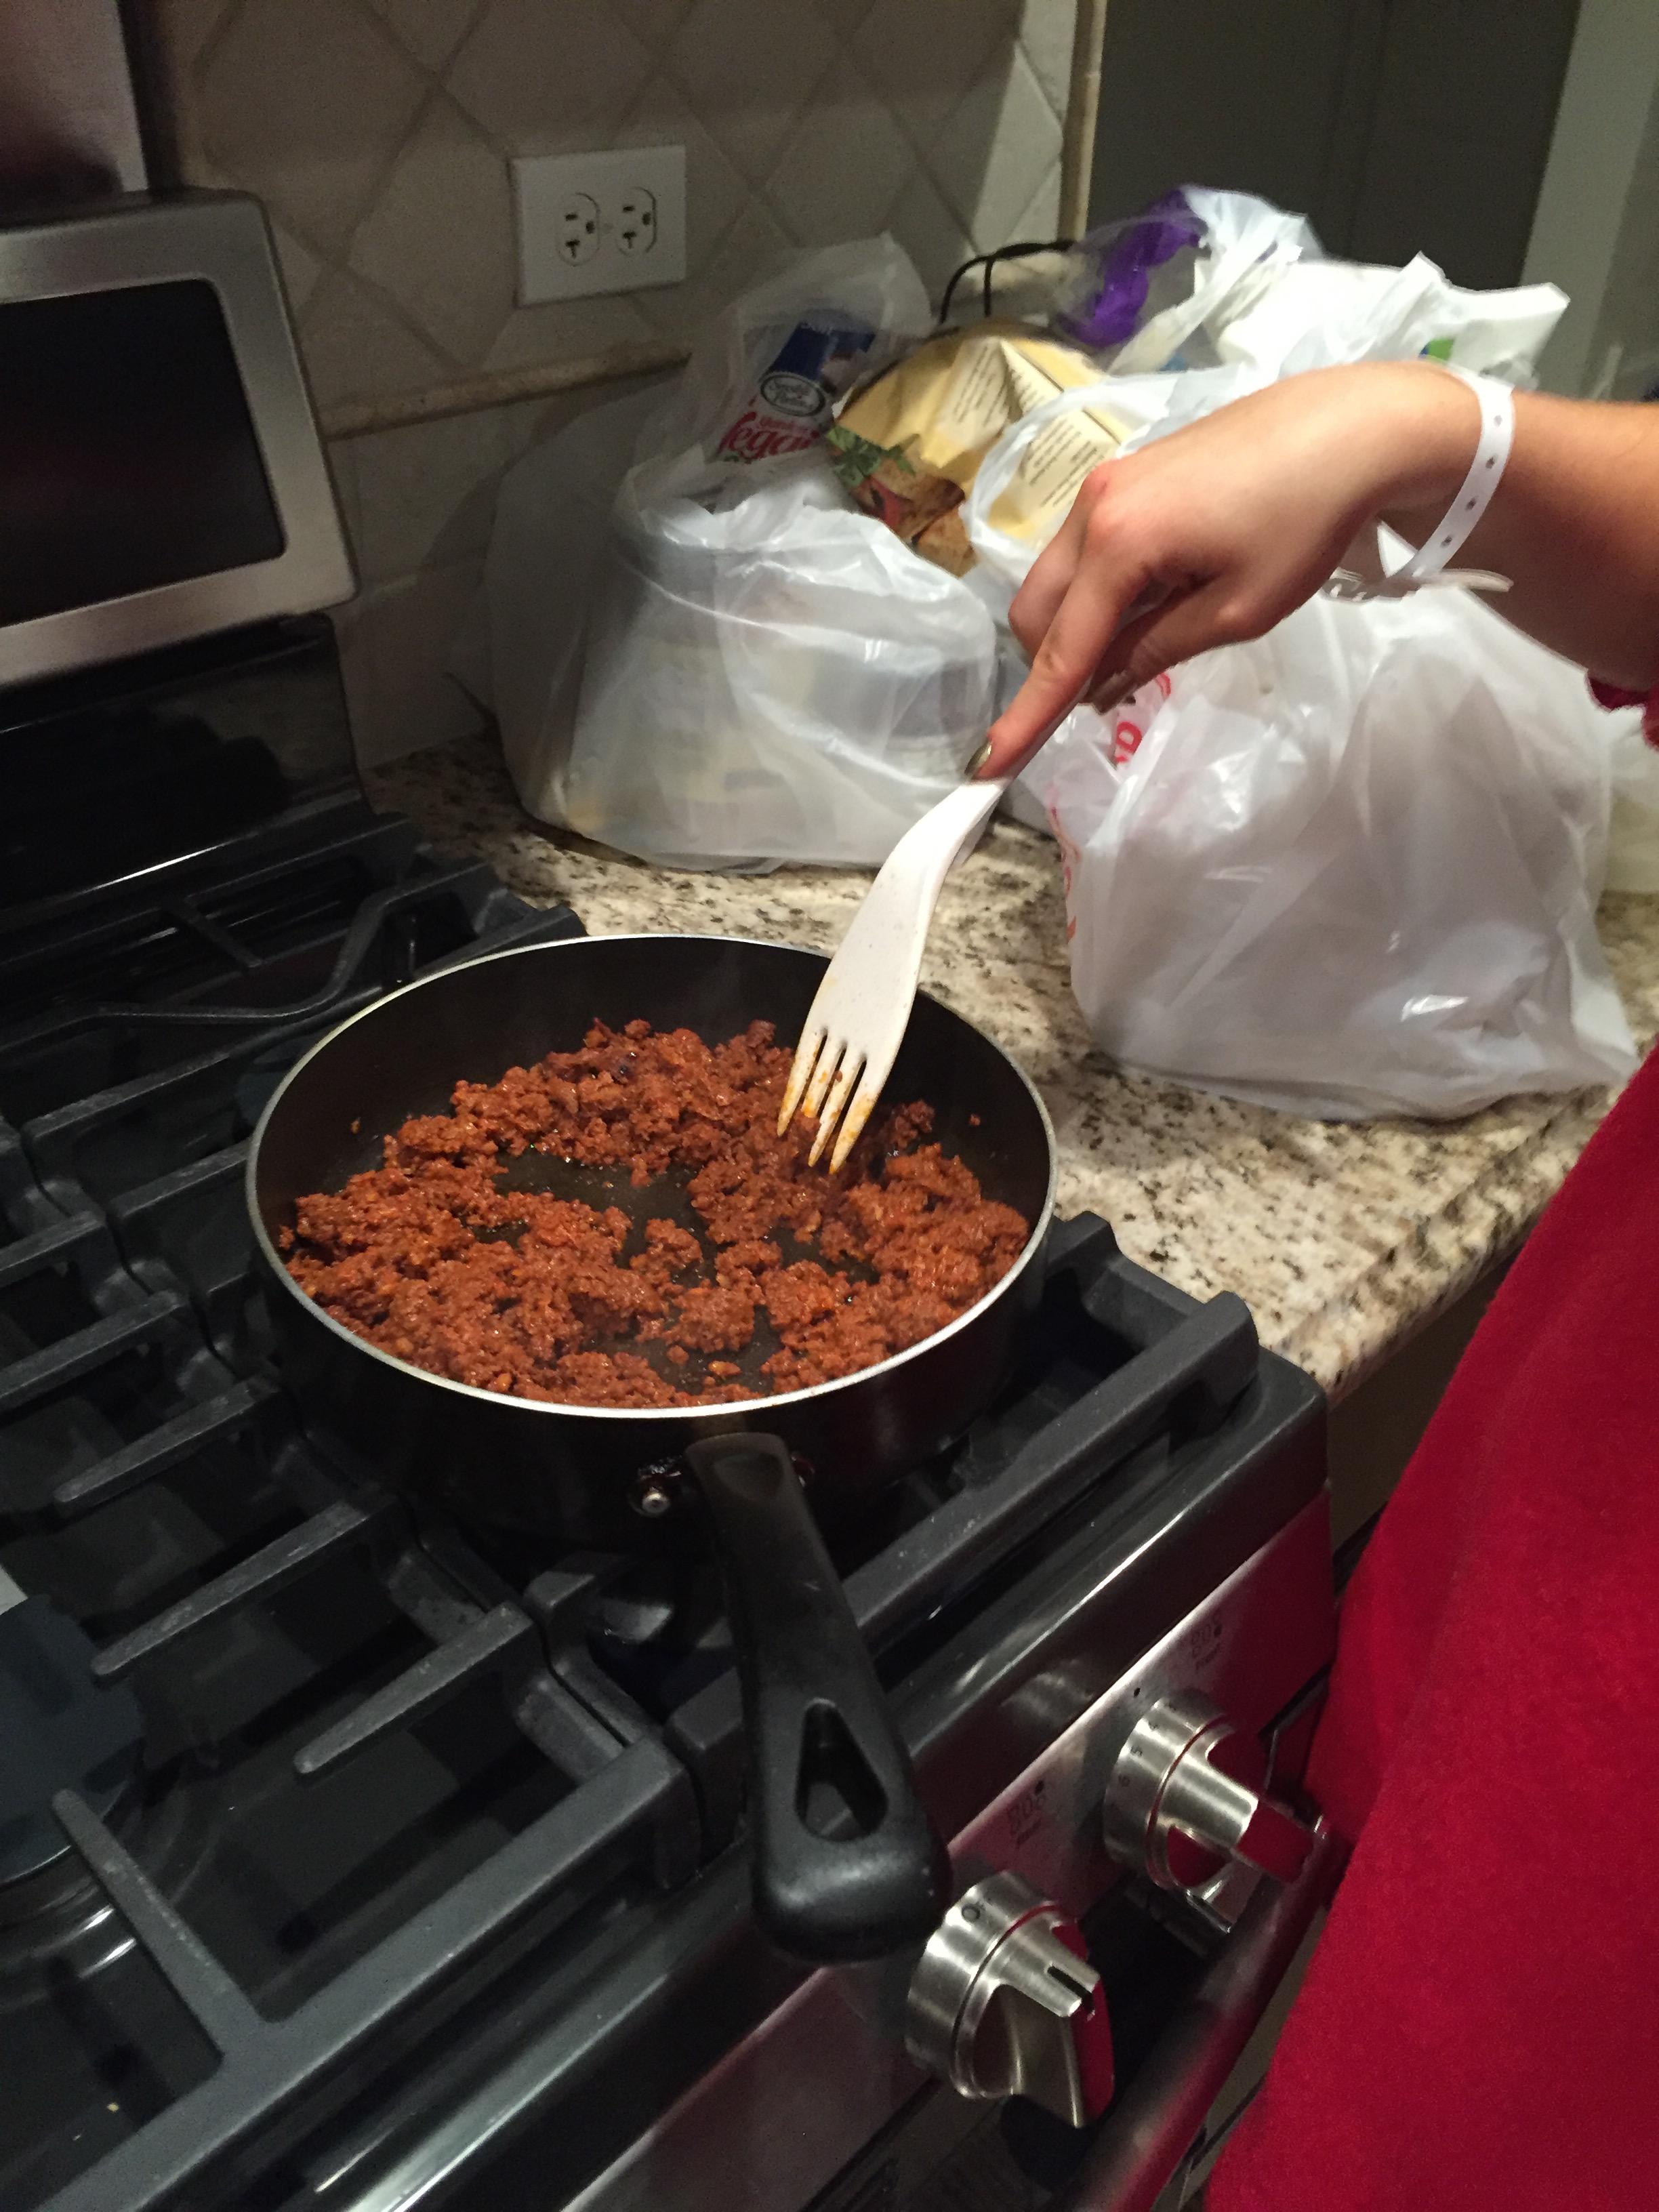
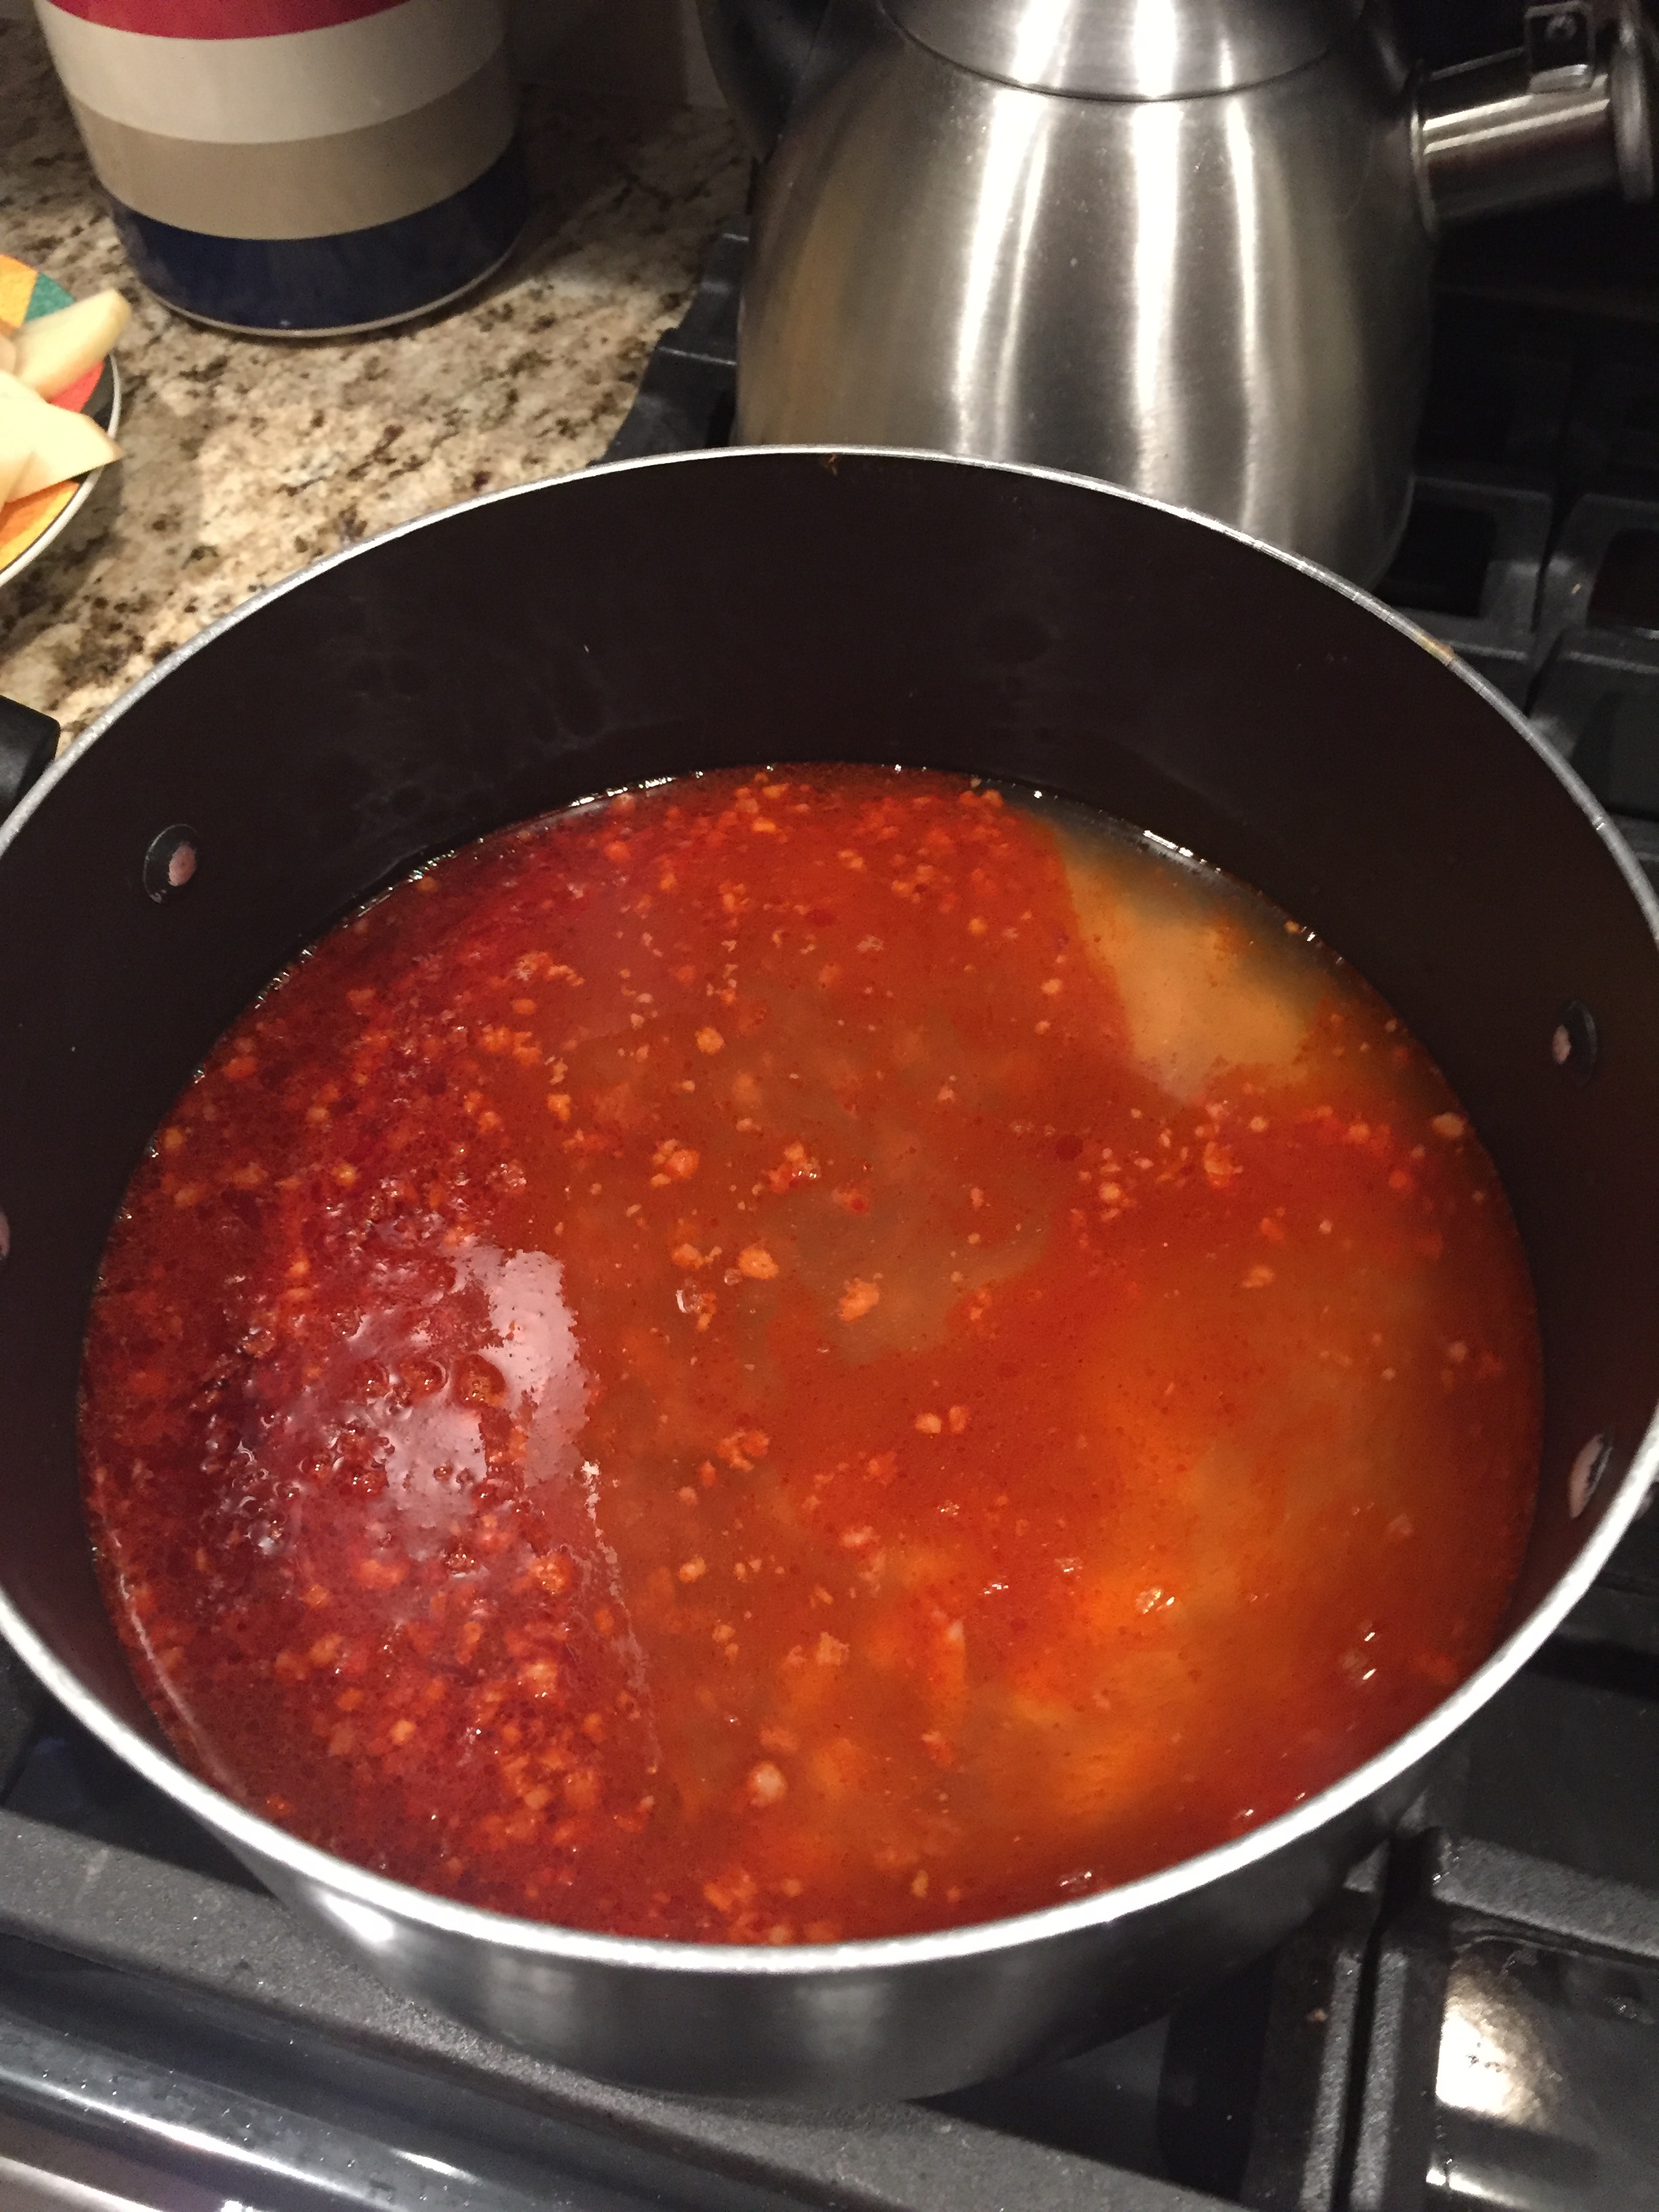
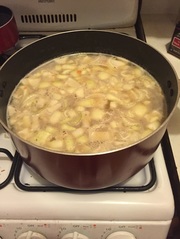
Next I got to some cooking. Now take some caution here because I'm about to explain to you two steps at once!!! OH BOY are you ready?? So in one pot, I put the beans and let them sit. In another pan I started cooking up my (unfortunately grounded.. use sliced everyone!) chorizo. Then I added the chorizo and water to the original pot with the white beans.
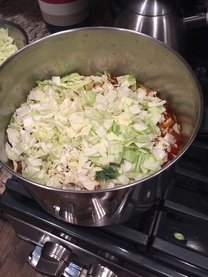
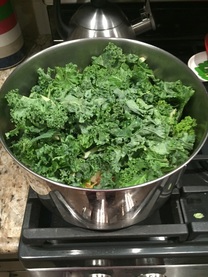
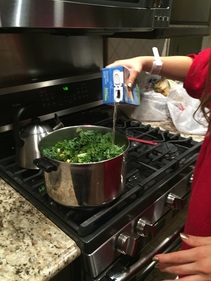
Next I basically added everything else to the pot. I threw in the cabbage, potatoes, kale, chicken broth, and spices mentioned above. I noticed in this step how much broth I needed, coming to the conclusion of two boxes. This might be different depending on your taste and how much of the other ingredients you had.
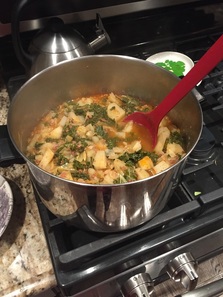
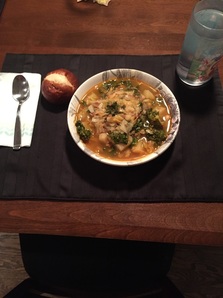
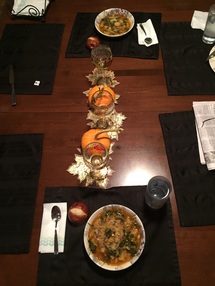
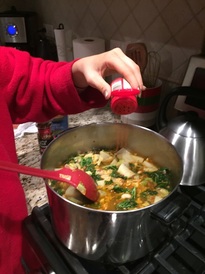 After everything is in the pot, it should cook about 20 minutes, but use your best judgement to determine when done. Feel free to mix it up occasionally while cooking. Then serve it up in a nice bowl, and if you're lucky to be home like me, you will have a pretty table setting to put your soup masterpiece on. Serve it up with whatever you like, I opted for my favorite... warm and salty pretzel roll.
 I was so crazy for this soup, it almost kaled me!
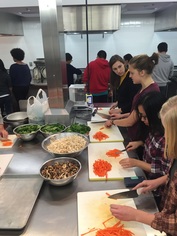
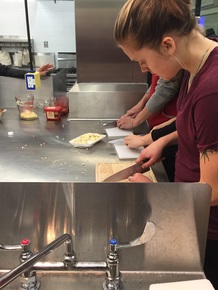
Okay so I know this recipe is not a soup, but let me tell you, this Korean Bibimbap process is totally worth the read. UW-Madison has a new WUD Food Cuisine Committee and they have been working to put on free food events throughout the semester. I attended this Korean Bibimbap class with a couple of my roommates and it was a very rewarding time. When we first got to Babcock Hall (where the event was held), we were welcomed in a small classroom where we learned a little about the culture and traditions of Korean food and the history of Korean Bibimbap. Then we got to work! WUD Cuisine had all of the ingredients prepped and ready to go for us upon entrance. Because of this, I don't have a complete recipe for you guys, just the basic steps that we took to prepare the meal. We started by washing our hands and getting ready to get cooking. My group's first station was veggies. We chopped up carrots and mushrooms, and had spinach and bean sprouts in this station as well.
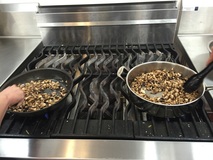
Next we moved on a station to saute the veggies that we had prepped. My friends and I solely worked with the mushrooms.
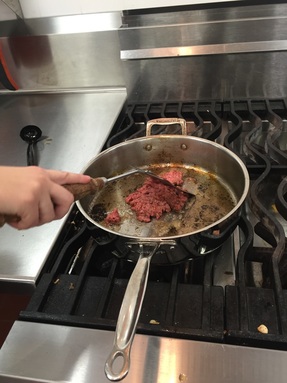
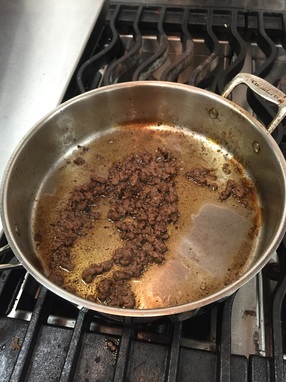
After veggies came the MEATS. We next moved on over to a station where we got to saute some ground beef.
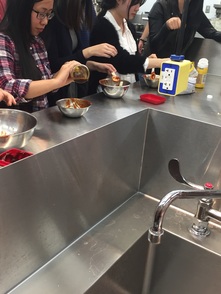
First comes the veggies, next comes the meat, then comes the sauce and it's almost time to eat!! If you couldn't tell by this little jingle, next we moved on a station to cook up some sauce. There were individuals cutting up garlic, and others combining all the sauce ingredients and mixing it up.
While all of the attendees were doing our own thing, the individuals who put on the event were preparing the sticky rice... 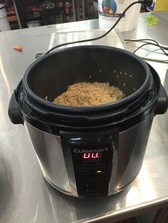 And VOILA! With a lot of teamwork and steps, it was finally time to eat our masterpiece of Korean Bibimbap! We all waited our turn in line and filled our bowls to the brim with rice, cooked veggies, meat, sauce, homemade kimchi (that somebody brought for us... it was delicious), and a fried egg on top.
Friends, fun, food, the perfect combination of F's :)
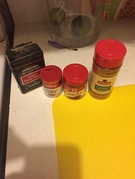
Do you want a hearty, warm, cozy soup, for a chilly fall night? Are you a little rushed for time and getting a bit hangy (anger caused by extreme hunger, it's a real thing)? Well look no further because I have the perfect filling soup-dinner for you. This one was super quick and easy. Emphasis on the quick and easy. What you'll need:
 So, like I said, this one was super easy to make. Start by chopping up your onion, carrots, and celery. We tried to use a pretty equal amount of each vegetable. 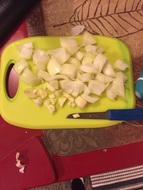 Next, we put basically everything in a pot, and brought to boil. This included the water, chicken broth, onion, carrots, celery (NOT the spinach!!), red lentils, and all the spices to taste. Once this gets boiling, reduce the heat, cover, and simmer for about 25 minutes.
After this mixture has been simmering for about 10 minutes, you can get cooking with the chorizo. Cook this for about 12-15 minutes (or until it's done, use your best judgement, I trust you). Then add it to the rest of the soup, along with the spinach. Once everything is simmering in the large pot, this means the original mixture plus the chorizo and spinach, let it cook for about 4 more minutes.
After the soup has been sitting for that four extra minutes, give it a taste... add any additional seasoning to your desired taste... then voila! You're done! QUICK and EASY, right!? 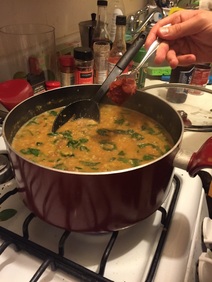 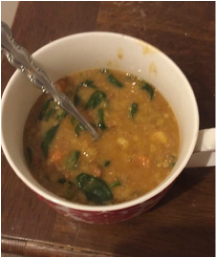 De-Licous!
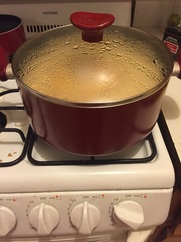
With the start of Fall I only saw it fitting that my first soup post was pumpkin related. And let me tell you, I'm glad it was. This was a super easy recipe that didn't require much time or money. I'm not going to go into extreme details on everything but here is the just of things... What you'll need:
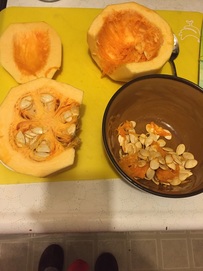
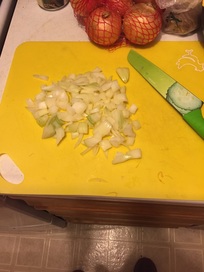
If you're really ambitious like me and my roommates, you will begin this soup journey with a trip to target. Not just any trip to target though, a 45 minute bike ride to AND from target. Ah, so exhilarating! Okay, so now you're back from Target and you have everything you need to make this delicious soup. To start, you need to prep all the veggies, by scooping the guts out of the pumpkins, and chopping the pumpkins, carrots, and onions into cubes.
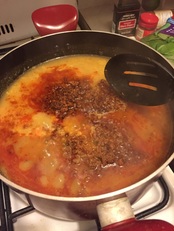
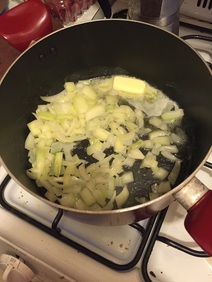
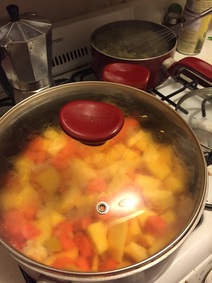
Start by browning the onions in a pan with butter, then add in the pumpkin and carrots. As these are cooking, start to boil the veggie stock. Once you get that boiling, combine it into the pot with all the veggies.
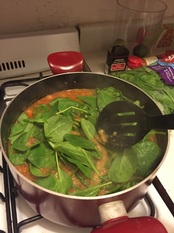
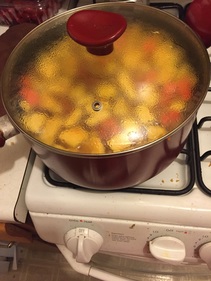
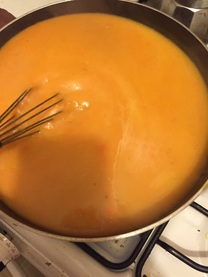
Now you must be patient to get to the fun stuff. Let the veggie, broth combo simmer for about 20 minutes, until the veggies are relatively soft. Then... bring out the blender!! We did ours in two batches because we didn't have a blender large enough to fit all of the soup. From the first batch, we learned that we needed to blend the second a little longer in order to get that no-lump-consistency that we were looking for (but this is all up to your own personal preferences). So, blend up those veggies to your desired consistency. Next, add in the coconut milk and spices to your original veggie cooking pot, and whisk away. We added the ginger and all other seasonings mentioned in the ingredients section to taste. We took this taste thing very seriously, tasting ours about 12 times before we got the perfect flavor combination from our spices. But again, this is the part where you take in your own personal preferences, and get creative with it.
Once you have the soup seasoned to taste, let it cook for an additional 10-15 minutes, to really soak in all of those seasonings. Then serve it up in a nice cozy bowl and fall in love with your own homemade soup! We garnished ours with some chopped green onion because, well, it looked pretty. And we paired it with a nice warm, oven-roasted baguette.   Mmmmmmmmmmmmm, yummy soup!
|